
I purchased a MacBook Air in 2011, and it is the model A1370 with a 11-inch screen, Intel 64-bit i5 CPU 1.6GHz, 64GB NVMe solid state drive (SSD) and 2GB RAM.
Apple has stopped supporting older Intel-based laptops with newer versions of Mac OSX for a few years now. However, soon browsers like Firefox will also stop supporting such old systems. You have two choices, either dispose of the device or install Linux on it.
Since my device is working really well so far and is still a really thin laptop, it can continue to be a great travel companion. But it is old, so one of the options is to install Linux on it.
The EFI support has come a long way that you can completely replace the old OSX with a Linux that supports EFI install out of the box. I chose Kali Linux but you may choose Ubuntu and the process is the same.
But 64GB seems small and fills up quickly with today’s Linux operating systems, so I decided to upgrade the NVMe SSD to 250GB. This post describes how to perform the upgrade of the SSD and install Linux on the MacBook Air. This upgrade process will work on any Intel-based MacBook Airs that are from the 2010-2012 era, as far as I know.
This can also be a way to create a burner laptop for traveling to various hacker conferences like DEFCON, although nothing beats a Live CD Linux in that scenario, sometimes you just want something that does not require a USB drive sticking out of the laptop.
REQUIREMENTS
- 2010-2012 MacBook Air in bootable condition. You can buy several of these on eBay for less than $100 nowadays.
- Pentalobe screwdriver set and trim tool for Apple devices
- 256GB New SSD for 2010-2011 MacBook Air. You can buy an appropriate model SSD for your version of MacBook Air if it is 2012 or 2013 model.
- 4GB or larger USB Stick
- Compressed Air Can
- Alfa AWUS036ACS USB WiFi card. This is optional, but recommended since Broadcom drivers on Linux are bad.
- TPLink USB-to-ethernet dongle. This is optional if you want to use ethernet, and do not have ethernet (RJ45) ports.
CHECKING YOUR MACBOOK AIR
- Make sure you backup your data.
- If you have setup a firmware lock or firmware password on the MacBook Air, you need to either know that password or reset it or change it as described in one of the sections here.
REPLACING THE SSD
Our first task is to replace the 64GB SSD with a 256GB SSD (Figure 1) so that we have more space available.
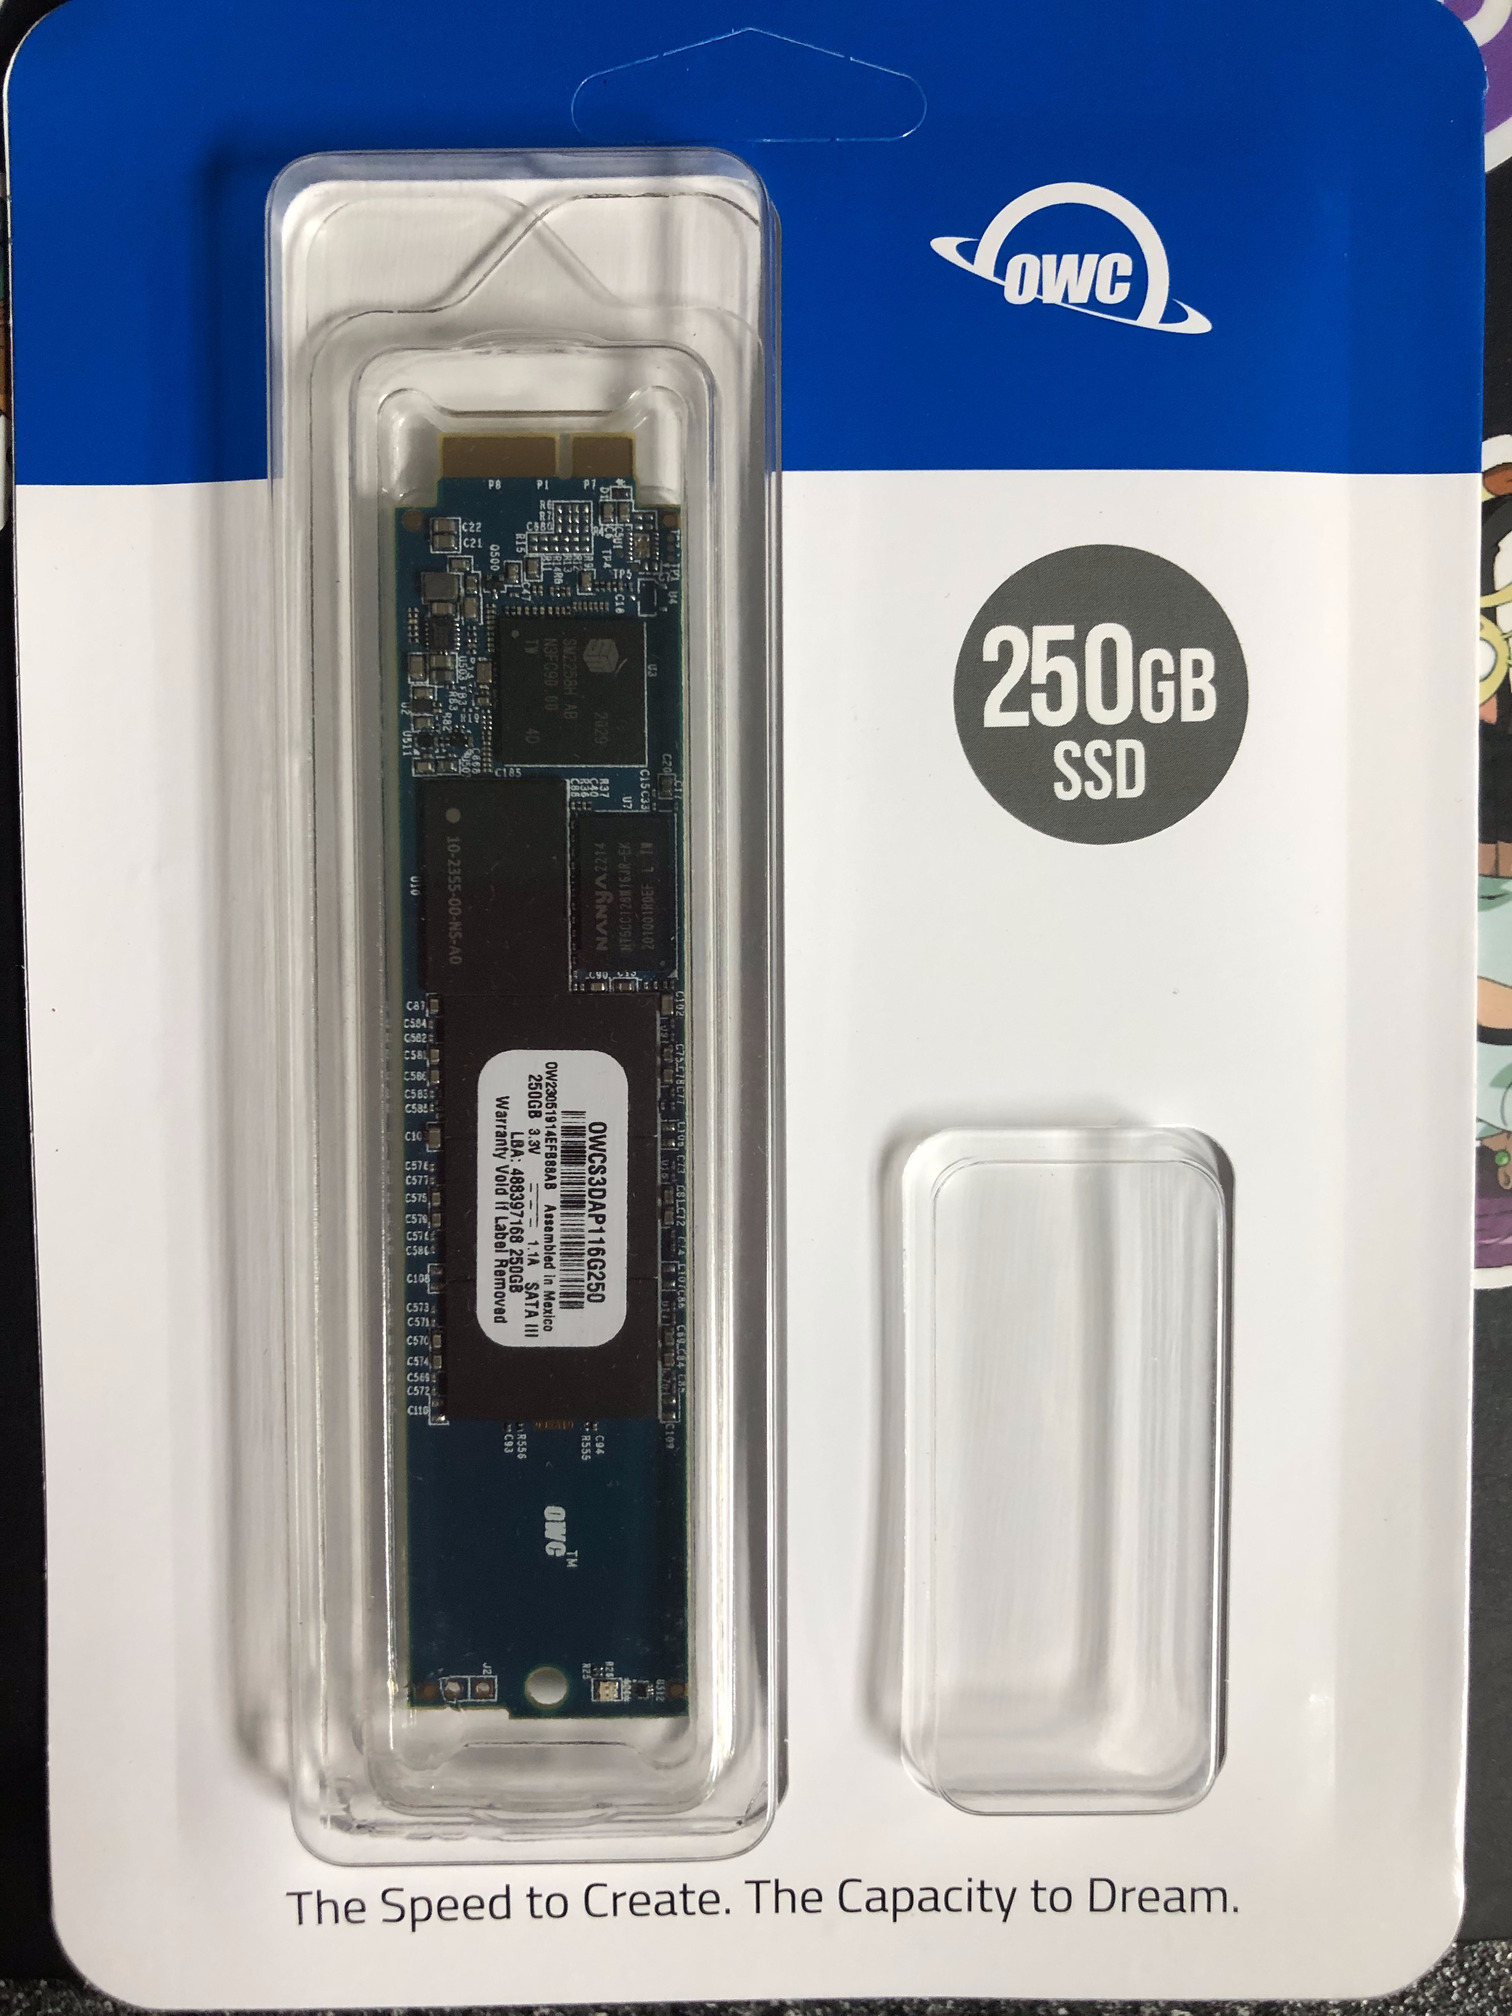 Figure 1. 256GB NVMe SSD for MacBook Air 2010-2011
Step 1: Shutdown the MacBook Air, disconnect power from the laptop, and turn it upside down. Using the correct pentalobe screwdriver bit from the kit locate the 10 screws that need to be opened, circled in red in Figure 2a. Carefully open each screw and keep it safely.
 Figure 2a. Locate the 10 screws under the laptop
There will be 2 long screws (circled in red) and 8 small ones as seen in Figure 2b.
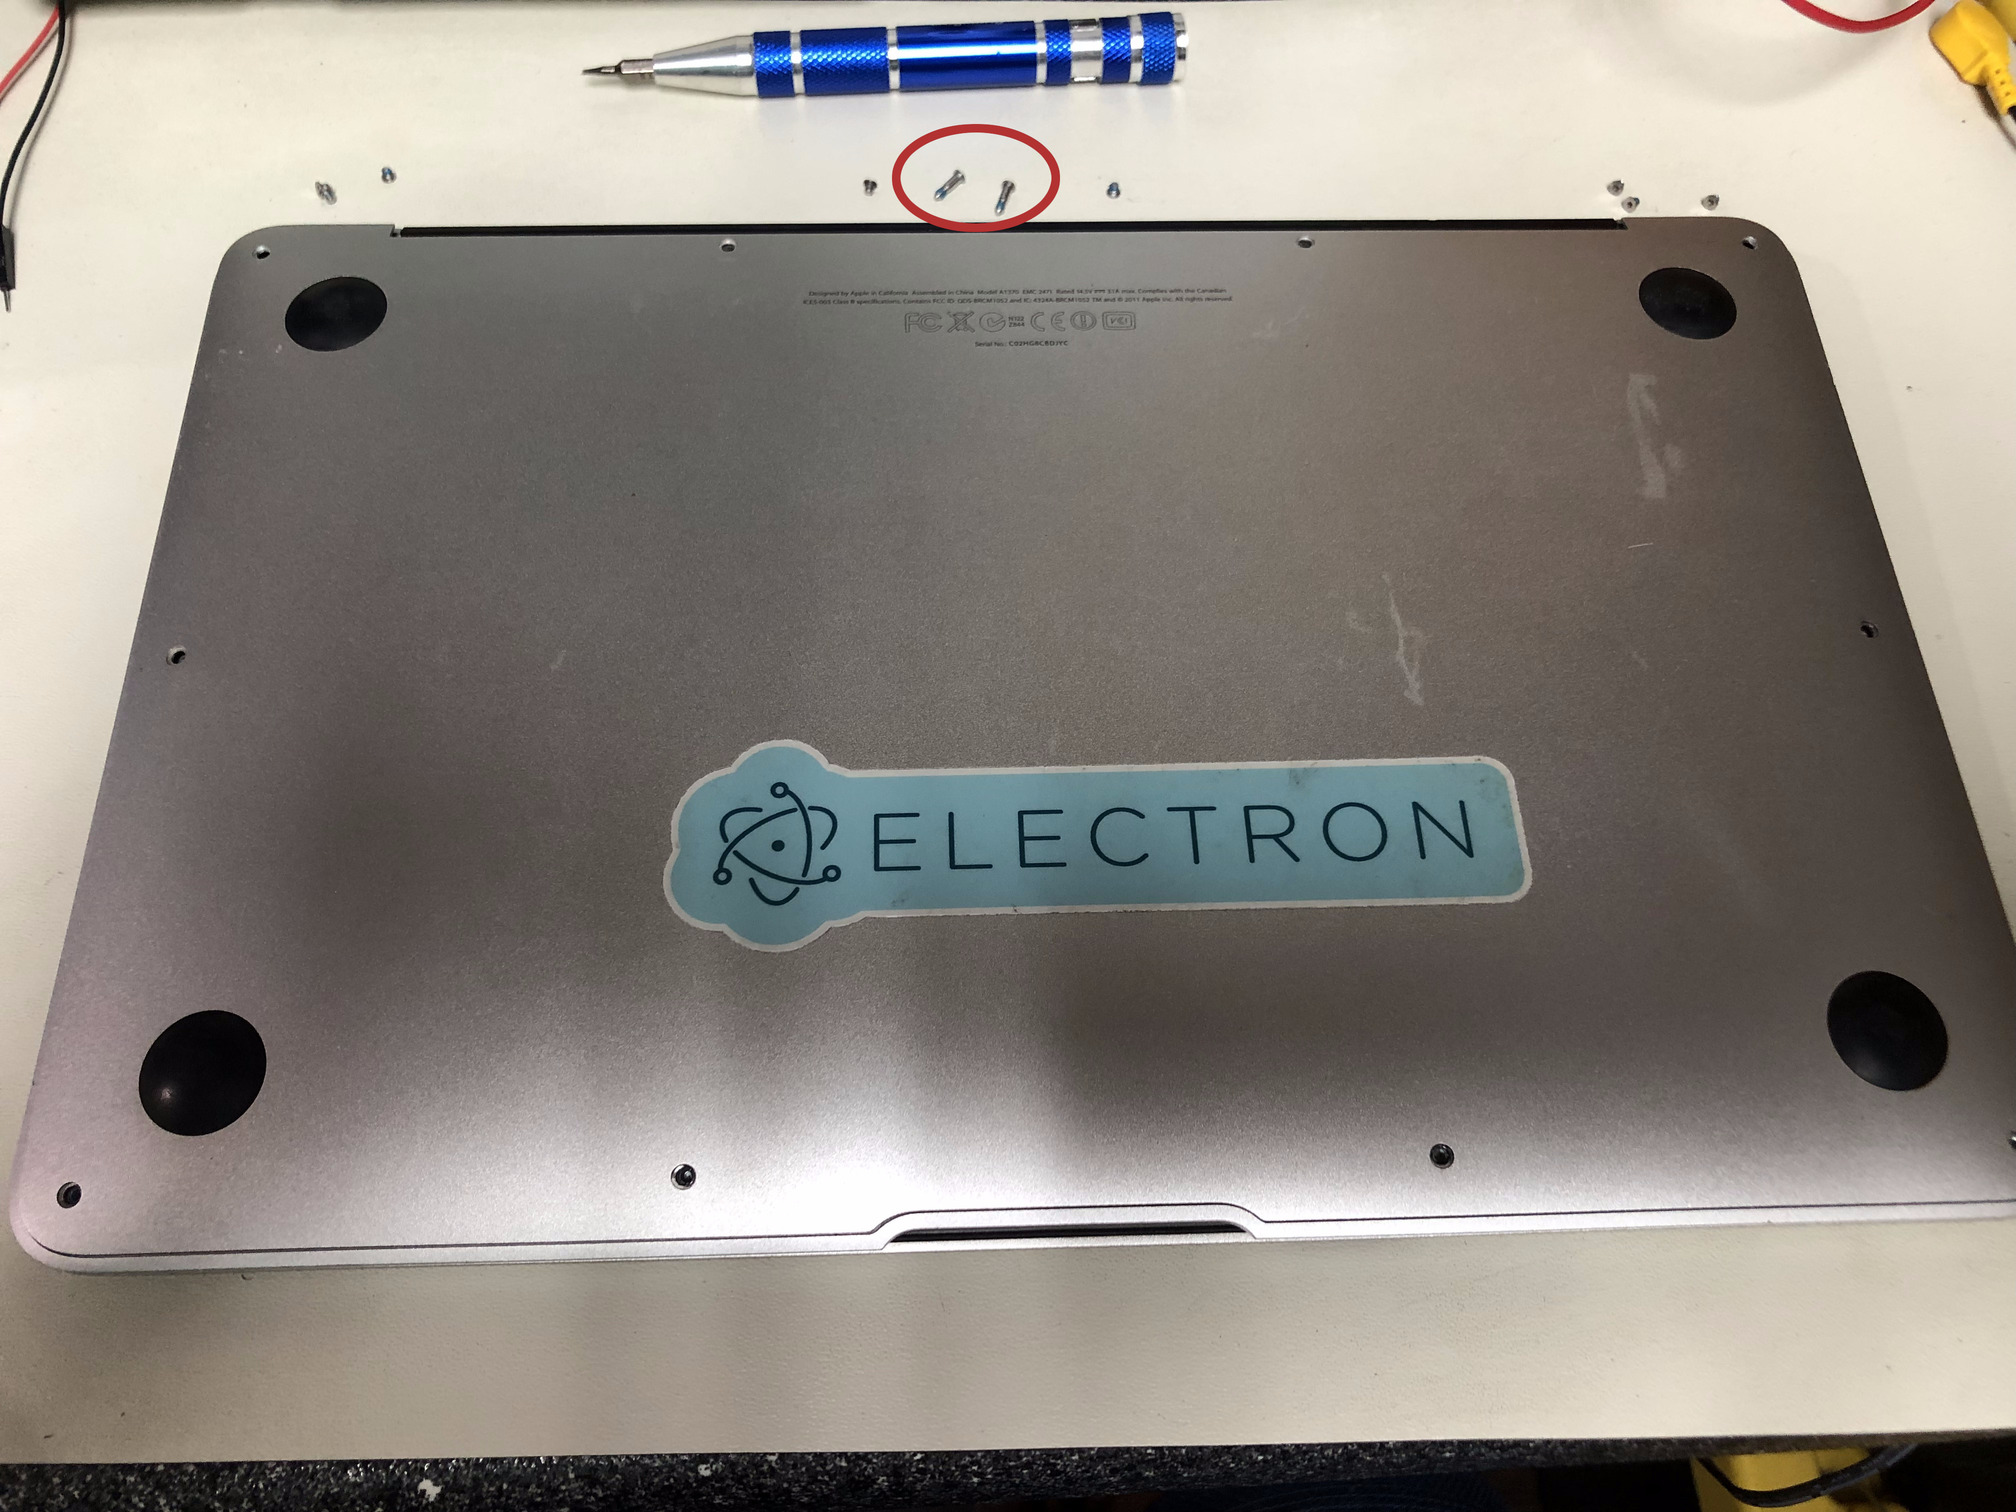 Figure 2b. Screws have been removed
Step 2: Now pull the cover off the base of the laptop exposing the motherboard, the solid state drive (SSD) and battery pack as seen in Figure 3a. Circled in Figure 3a and with a closeup in Figure 3b, we can see the connector for the battery pack, which will be disconnected in the next step. Figure 3c shows the connector for the SSD from which we will be disconnecting the SSD in a later step.
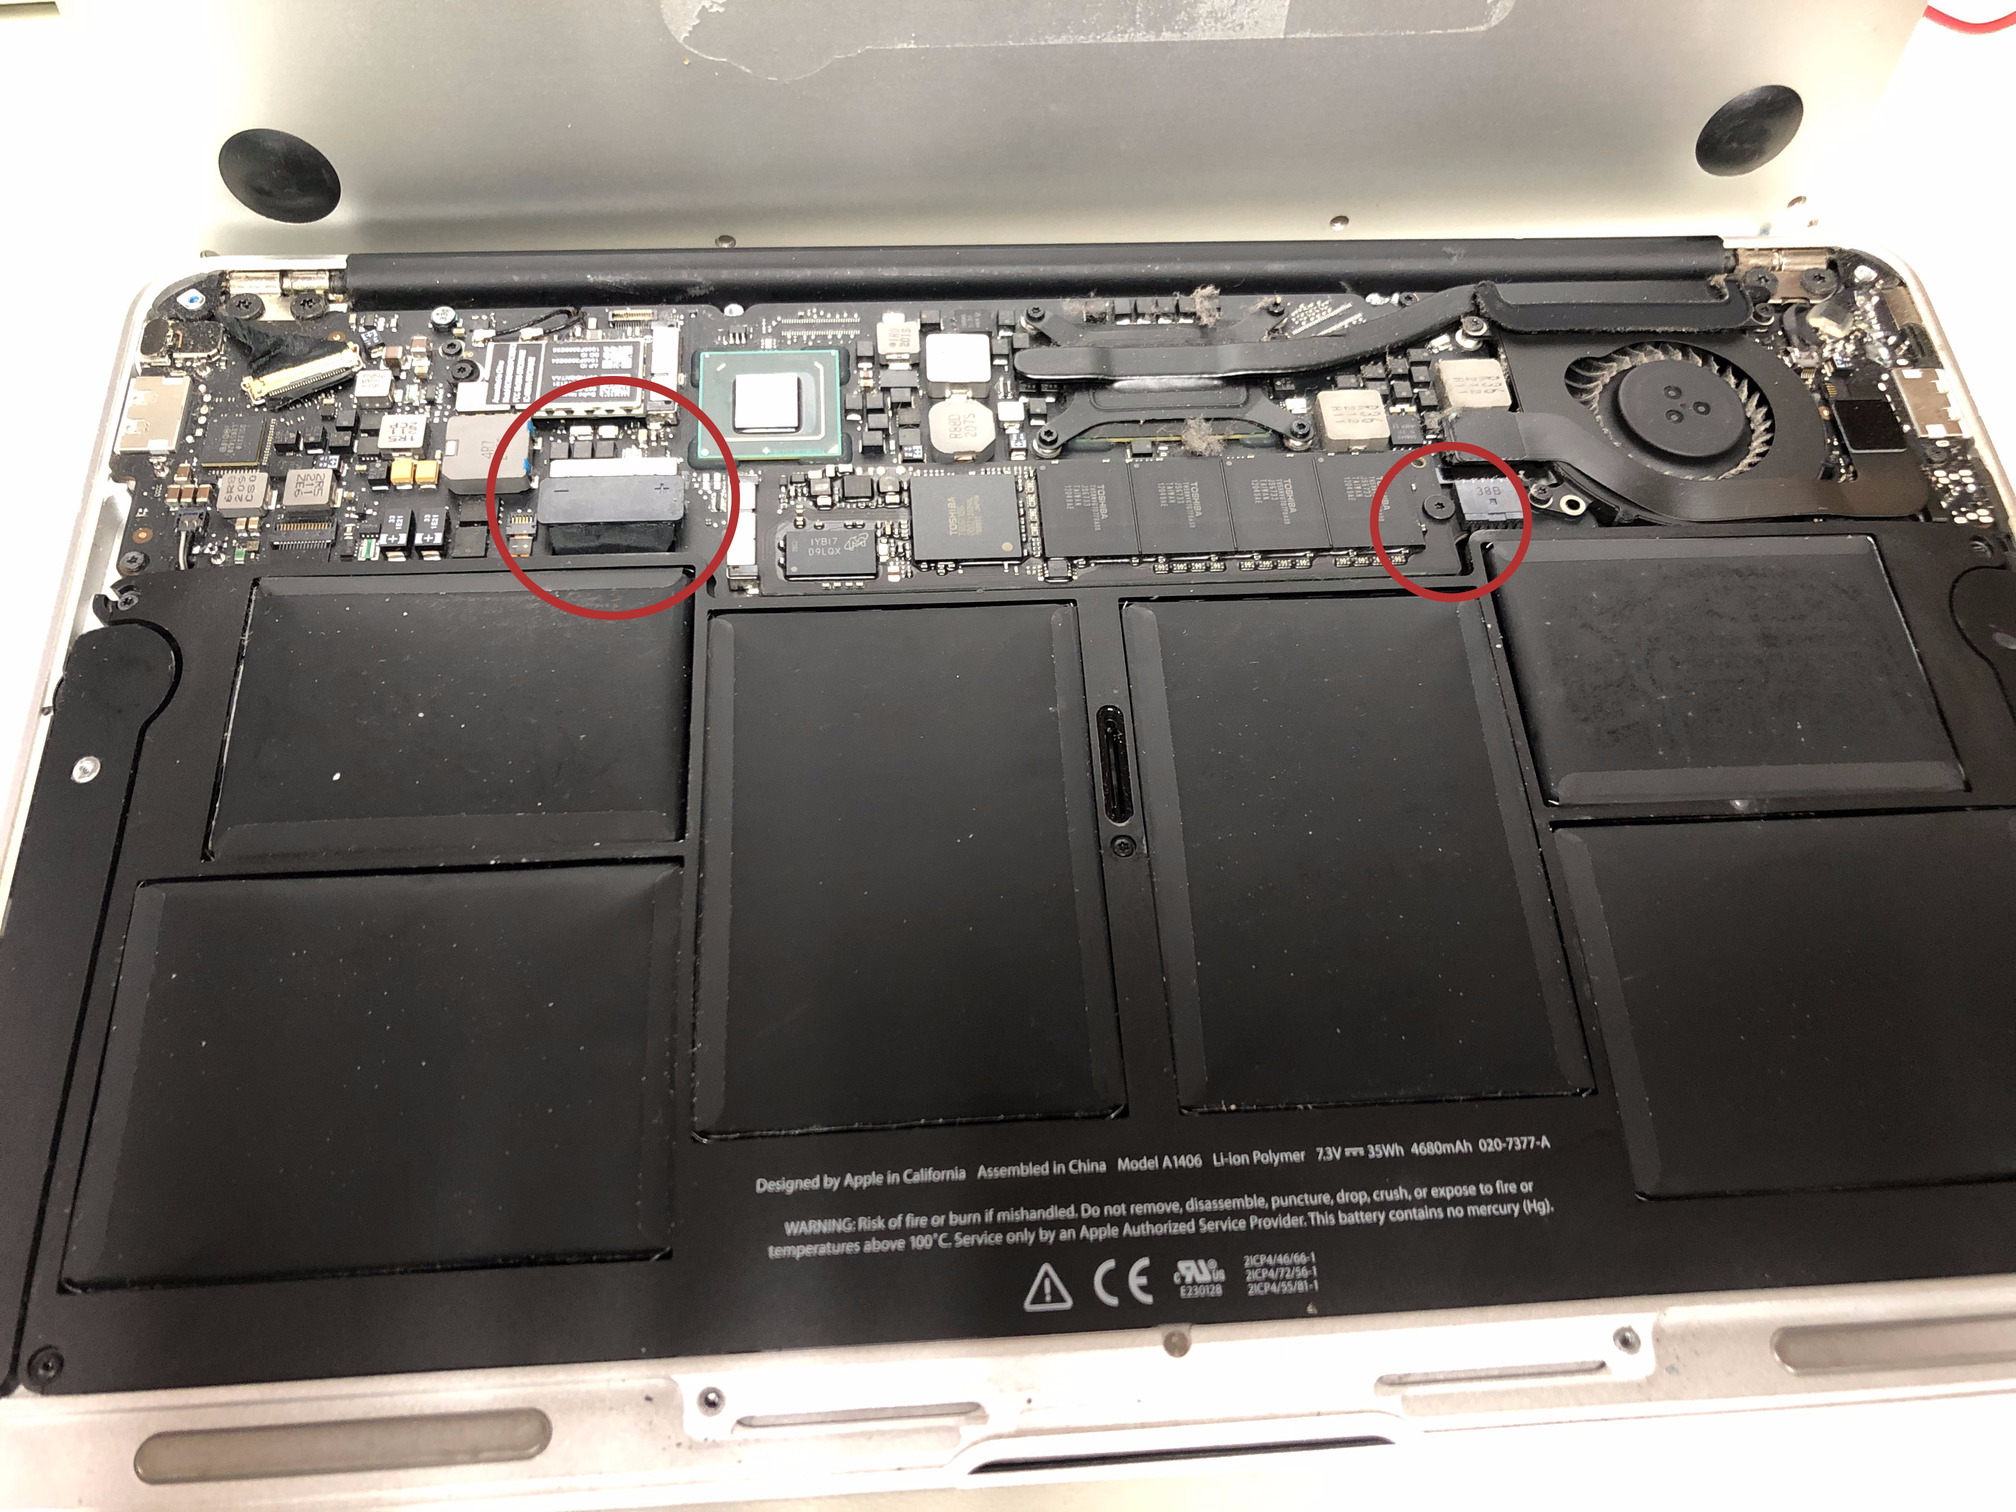 Figure 3a. Locate the battery pack connector and SSD
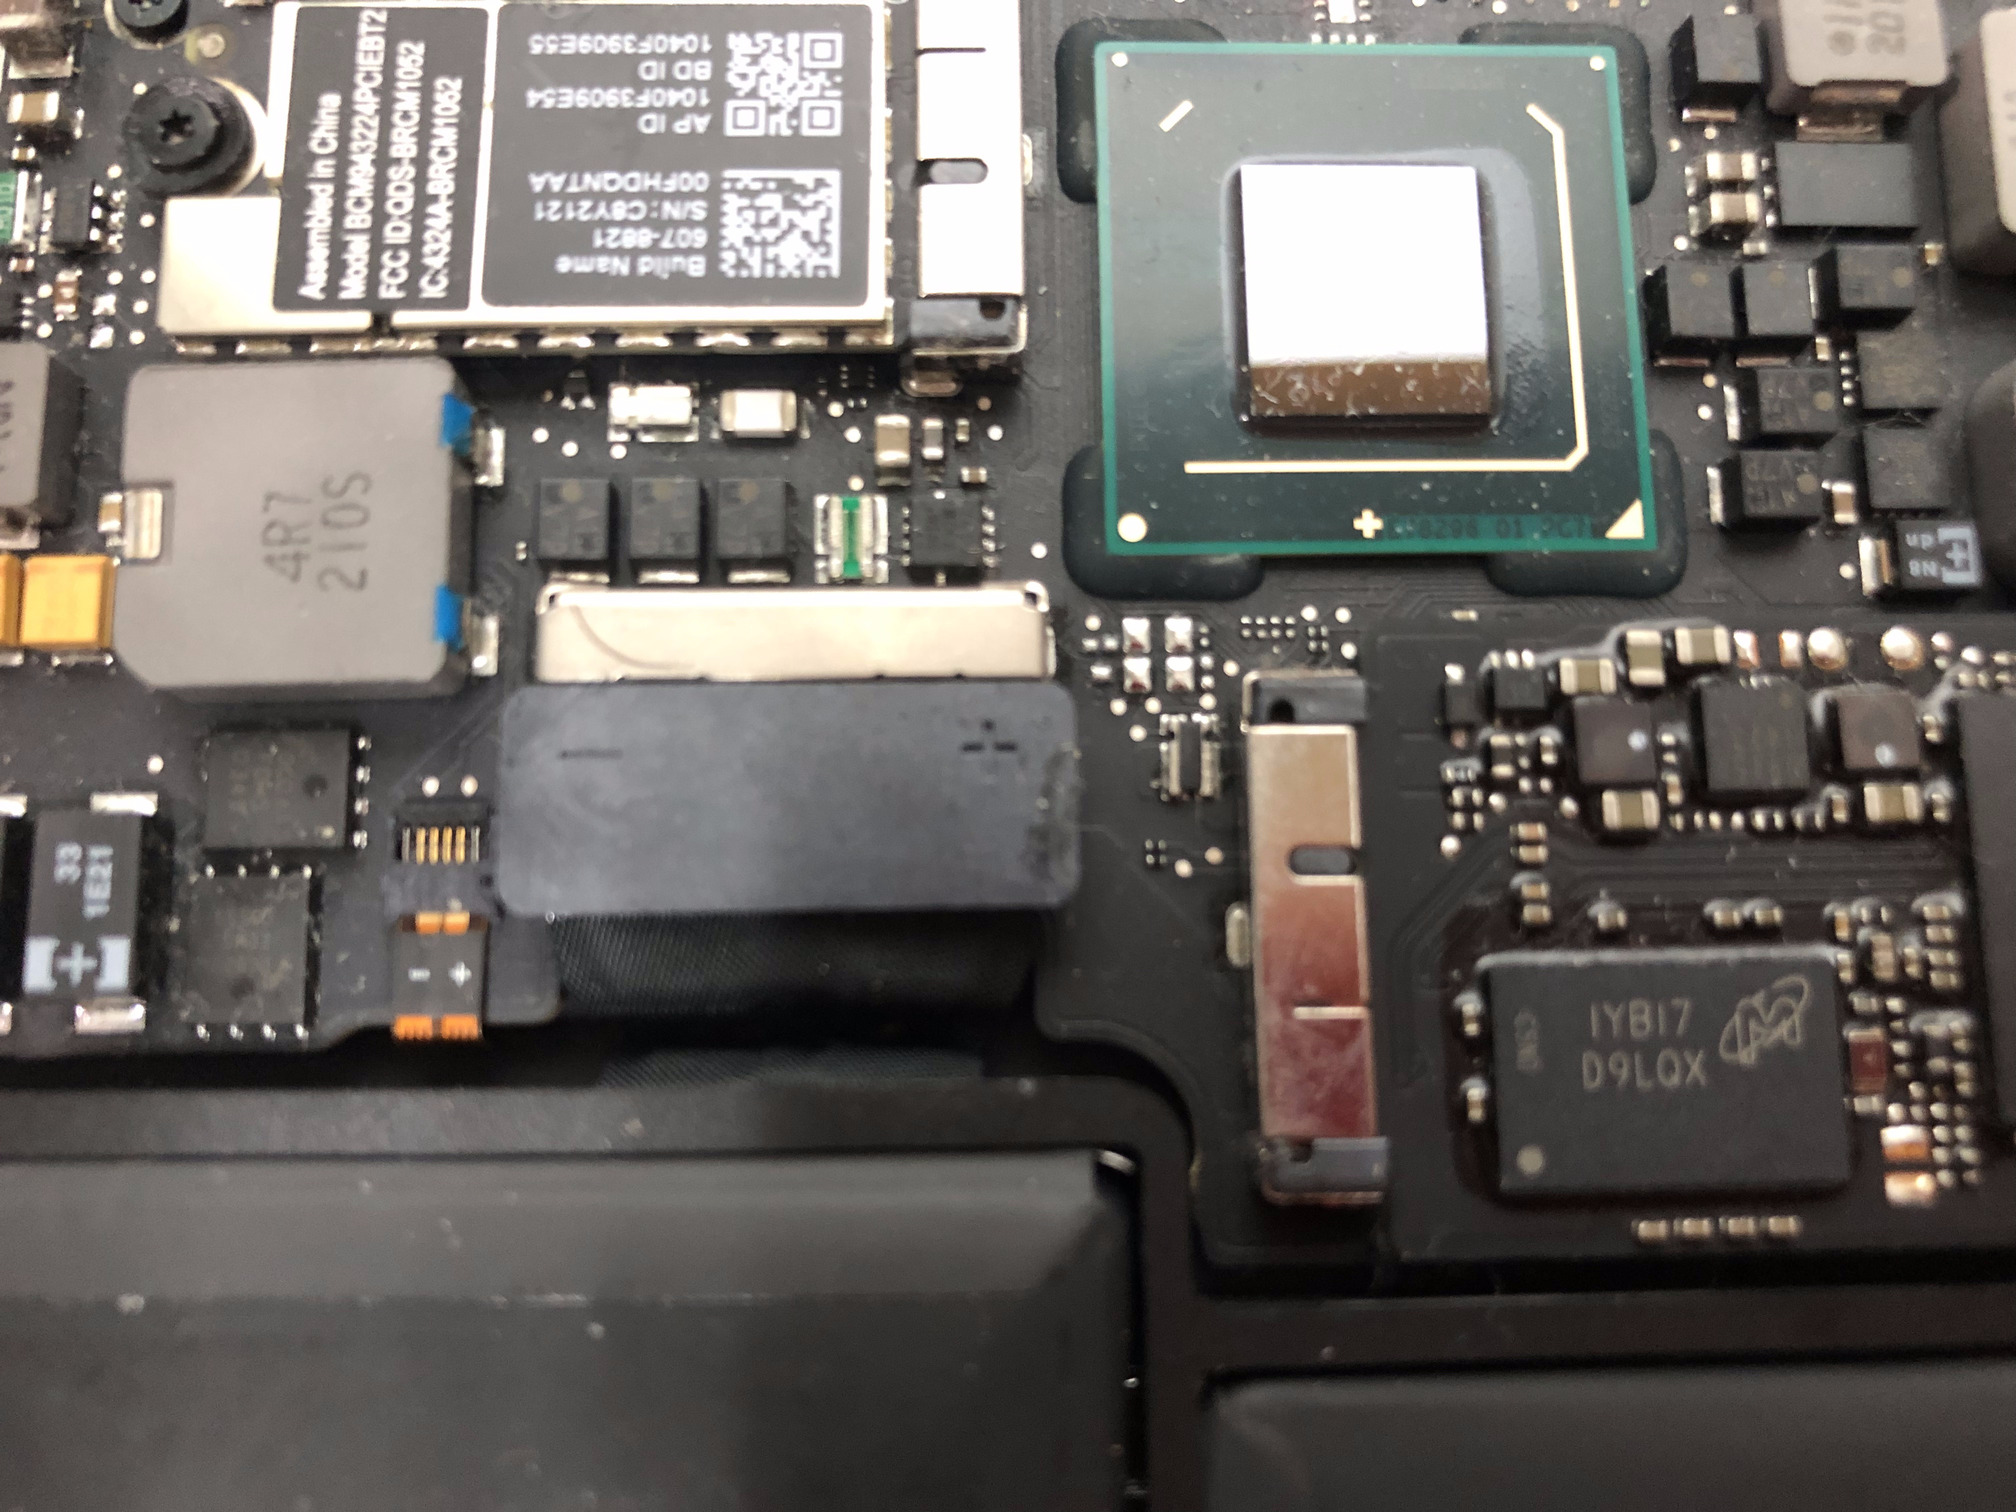 Figure 3b. Battery pack connector closeup
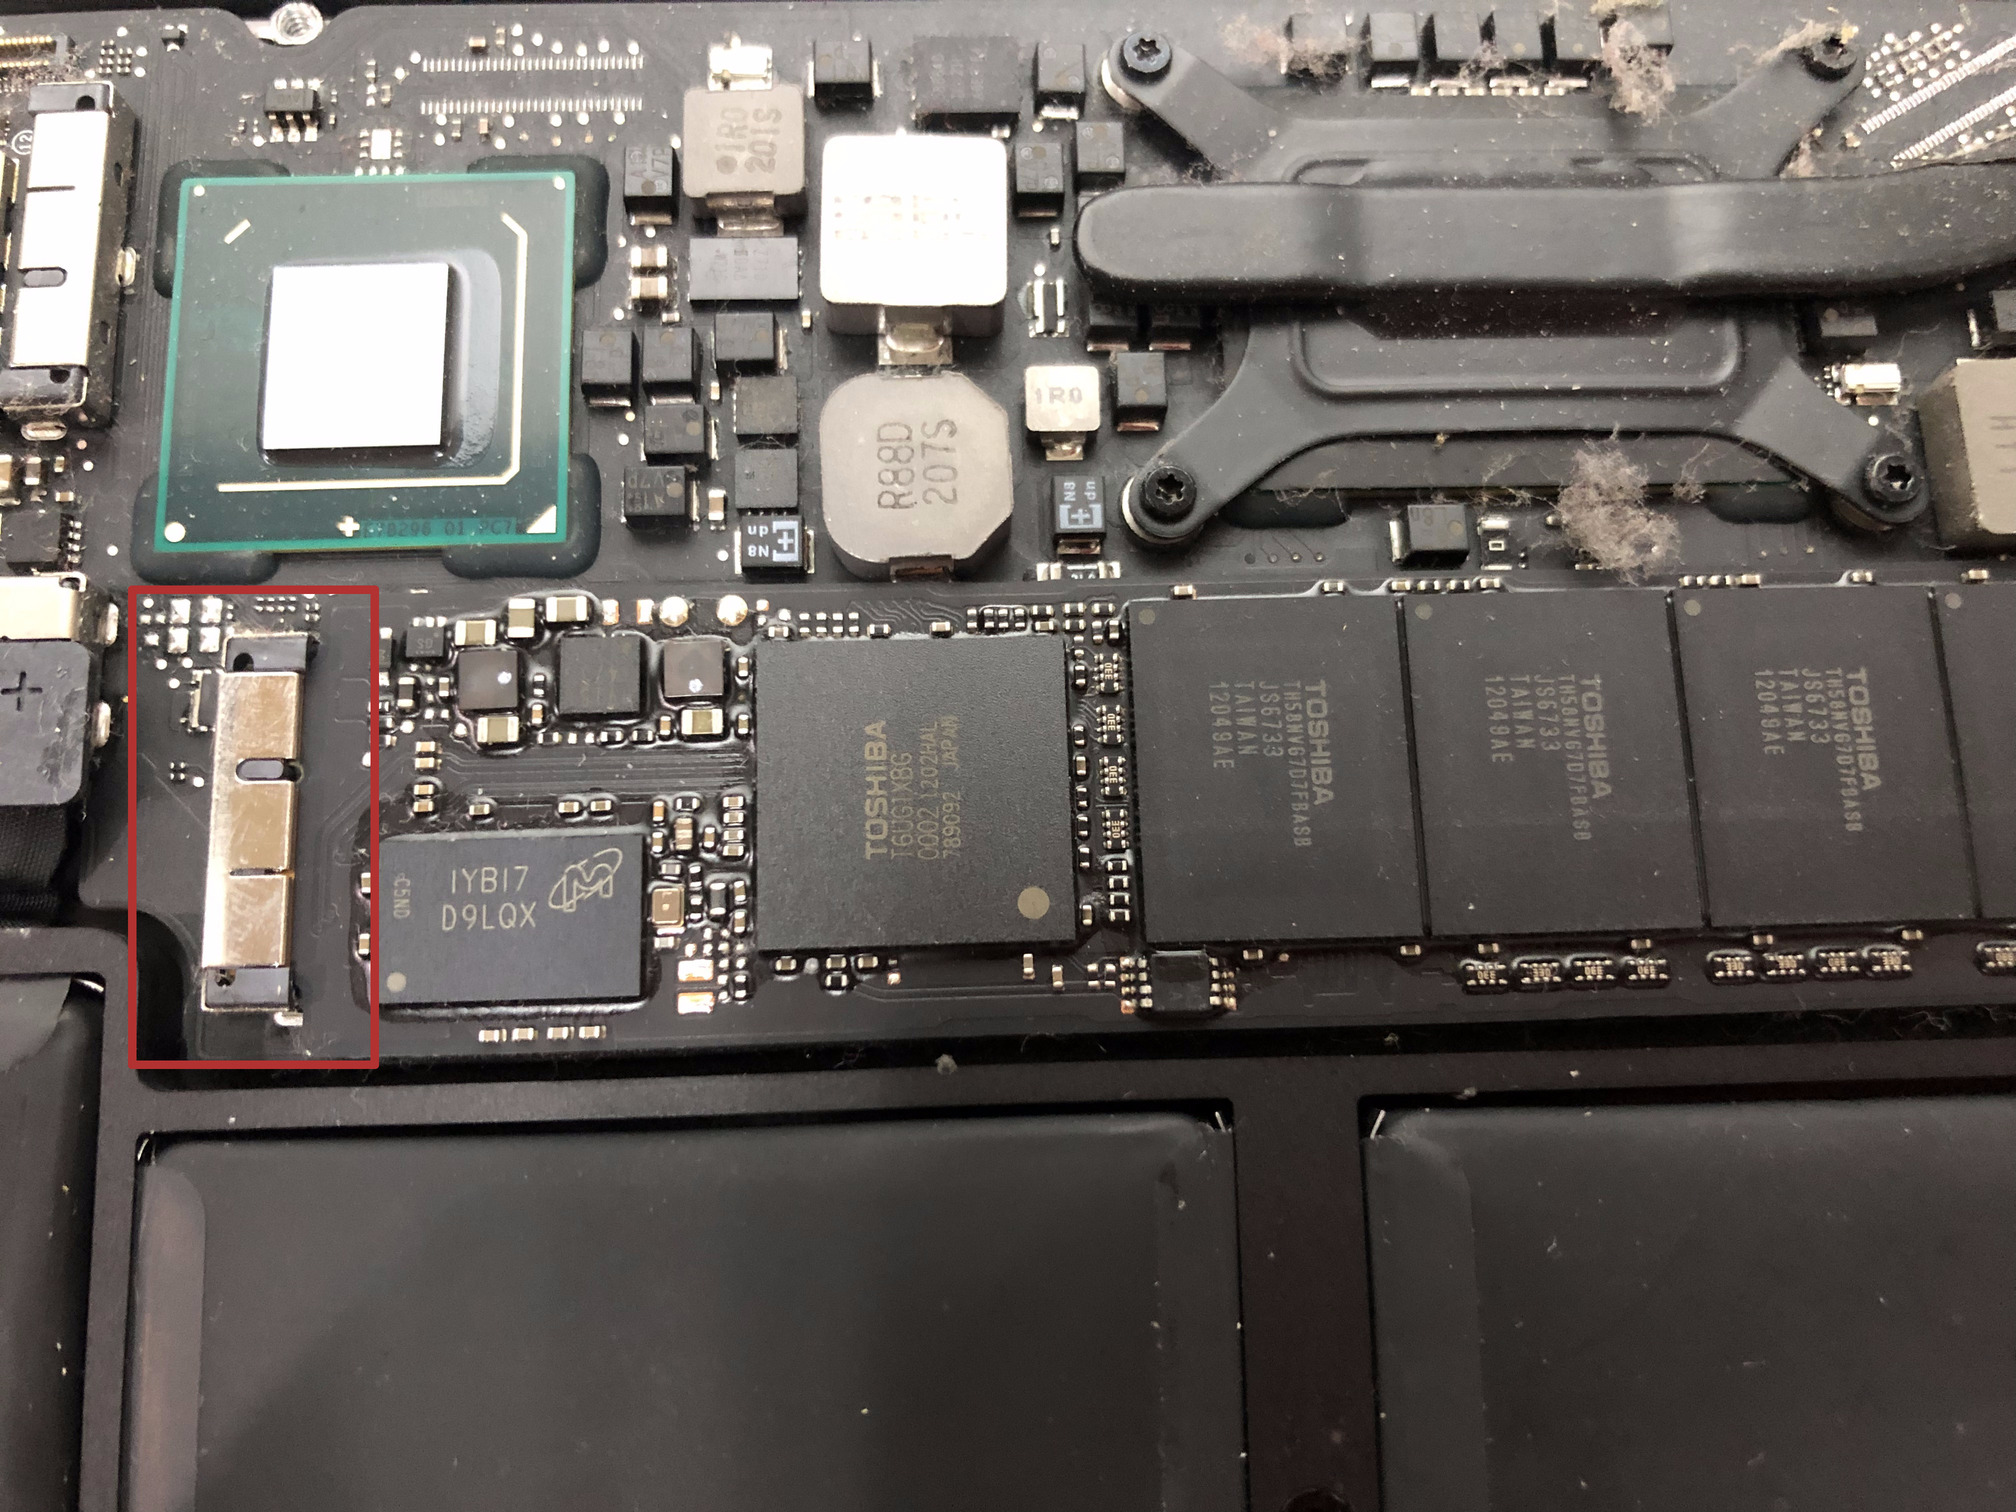 Figure 3c. SSD connector
Step 3: Using a trim tool from the pentalobe screwdriver set, lift the battery connector delicately up from both the sides marked + and - and it will pop up. Make sure the whole connector is popped up. It should not be touching the motherboard. Be gentle. Figures 4a and 4b show the trim tool being used to lift the battery connector and also a closeup of the connector lifted up.
 Figure 4a. Battery disconnected using trim tool
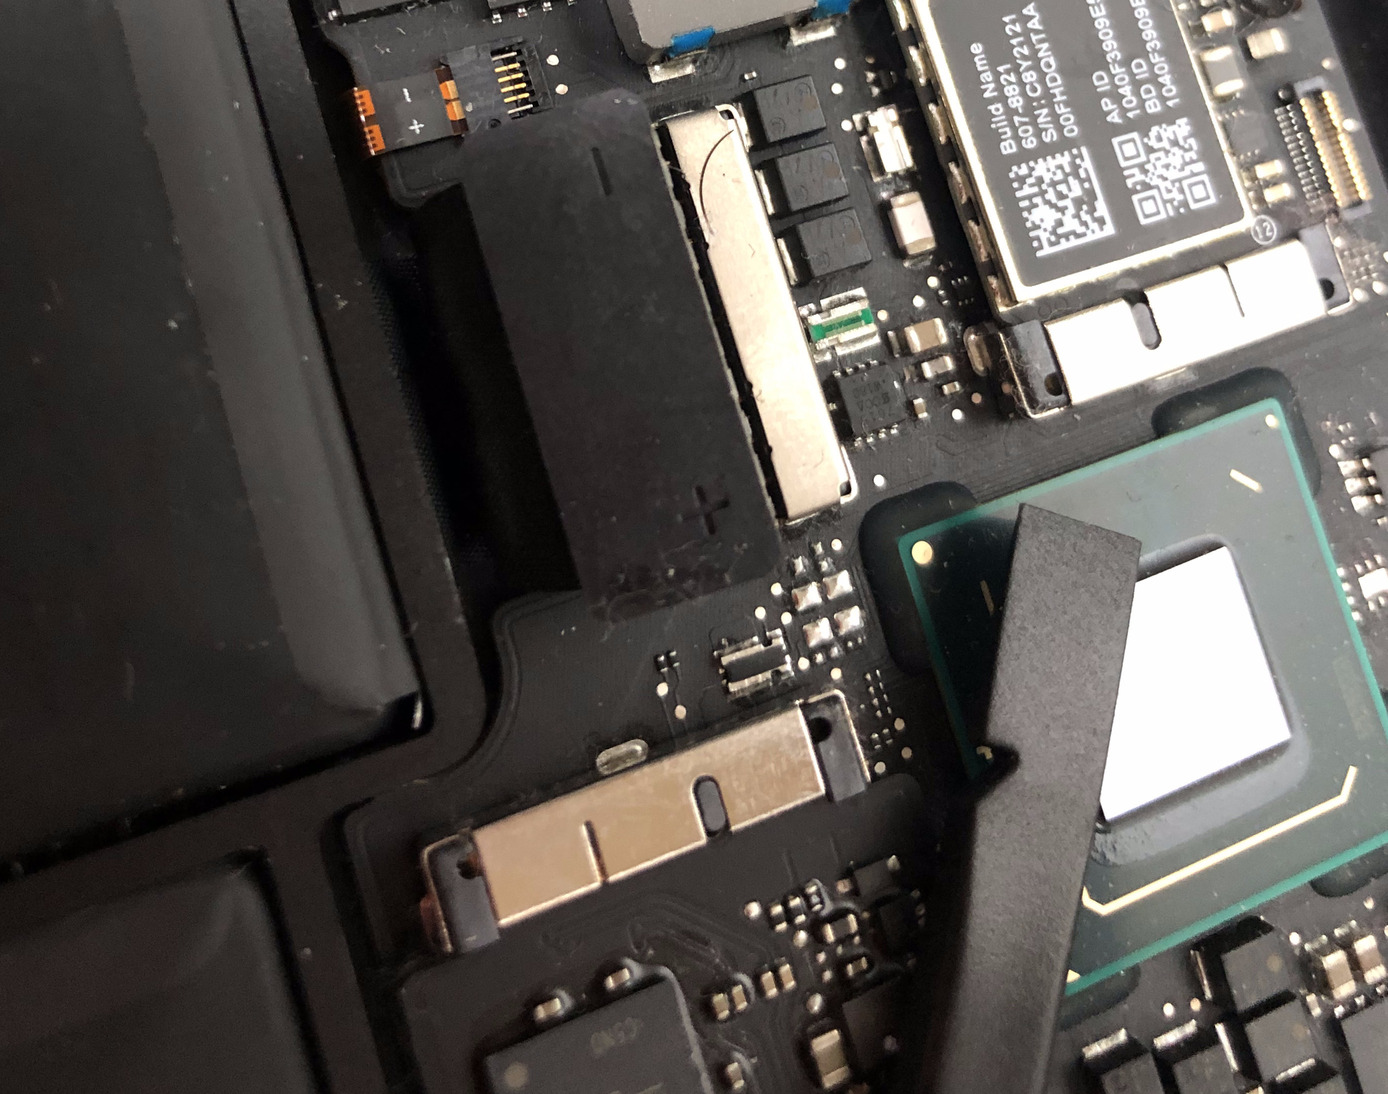 Figure 4b. Closeup of the battery disconnected
Step 4: Now we need to locate the screw in Figure 3a, and using the T5 torx screw bit from the pentalobe screwdriver kit, take out that screw. You should see it look like Figure 5a.
 Figure 5a. Remove screw holding SSD in place
This screw holds the SSD in place and once it has been removed, delicately lift up the SSD and pull it out slowly from the connector. You should see it come out like in Figure 5b.
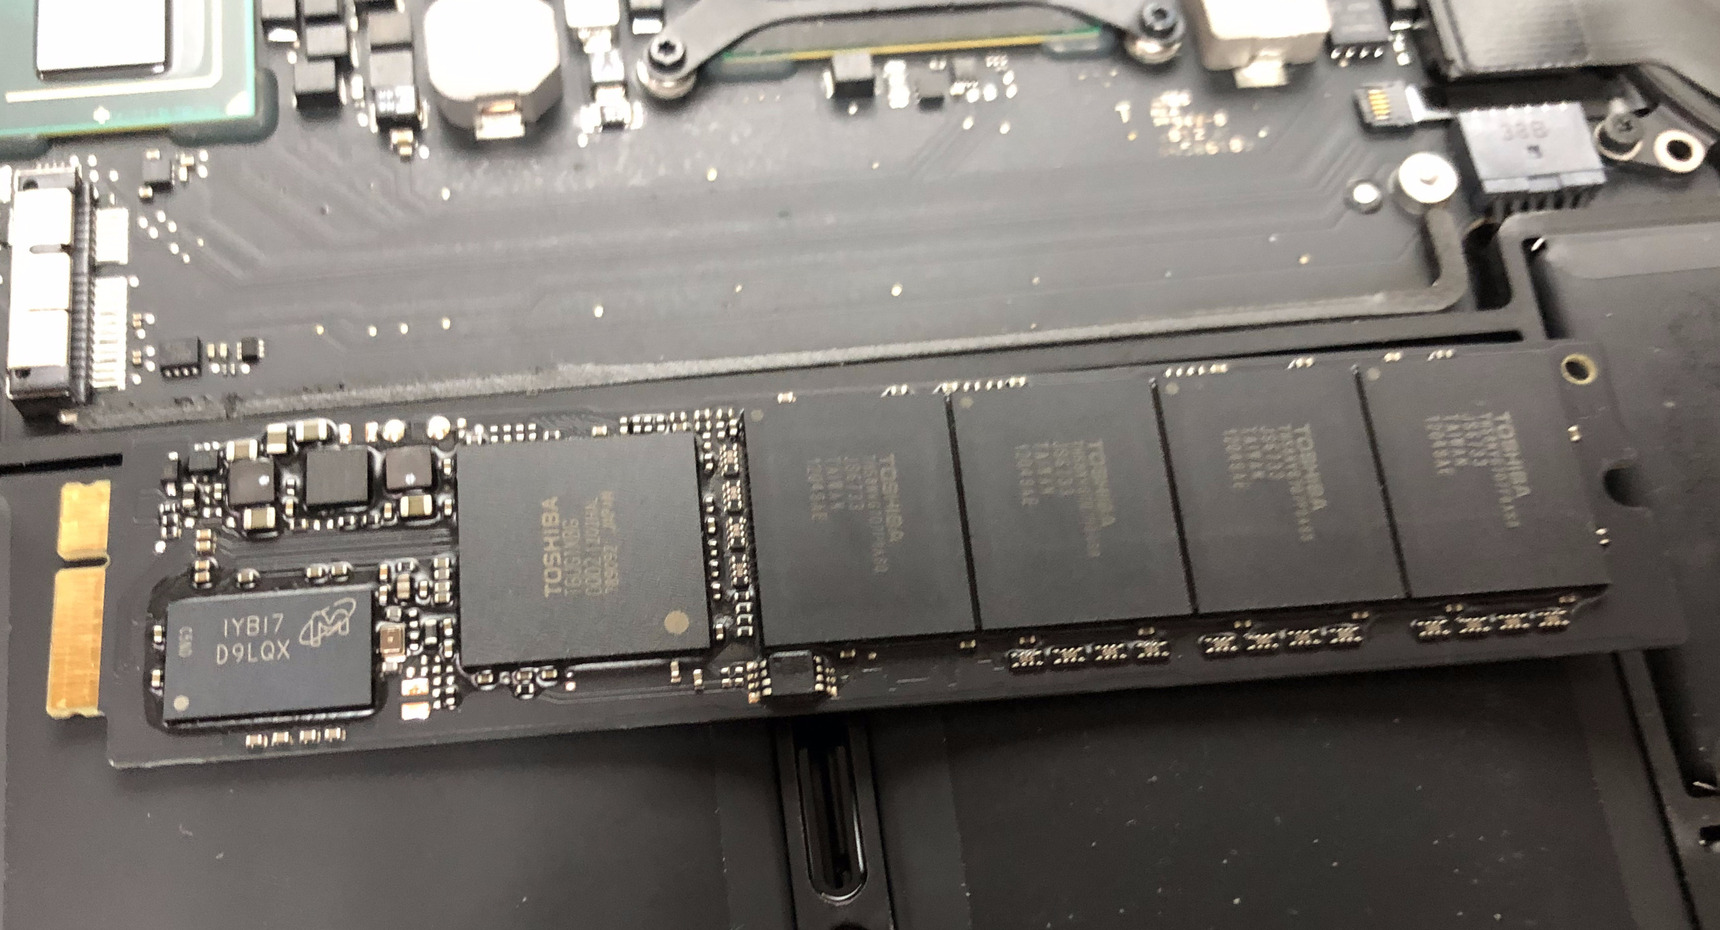 Figure 5b. SSD unplugged
NOTE: Using compressed air you can clean up all the dust from the connectors and the rest of the motherboard.
Step 5: Now it is time to install the new SSD (Figure 6a). Insert the pins of the SSD in the right direction and push it in till it fits (Figure 6b) and is tight. Then tighten the screw that you had removed in the previous step.
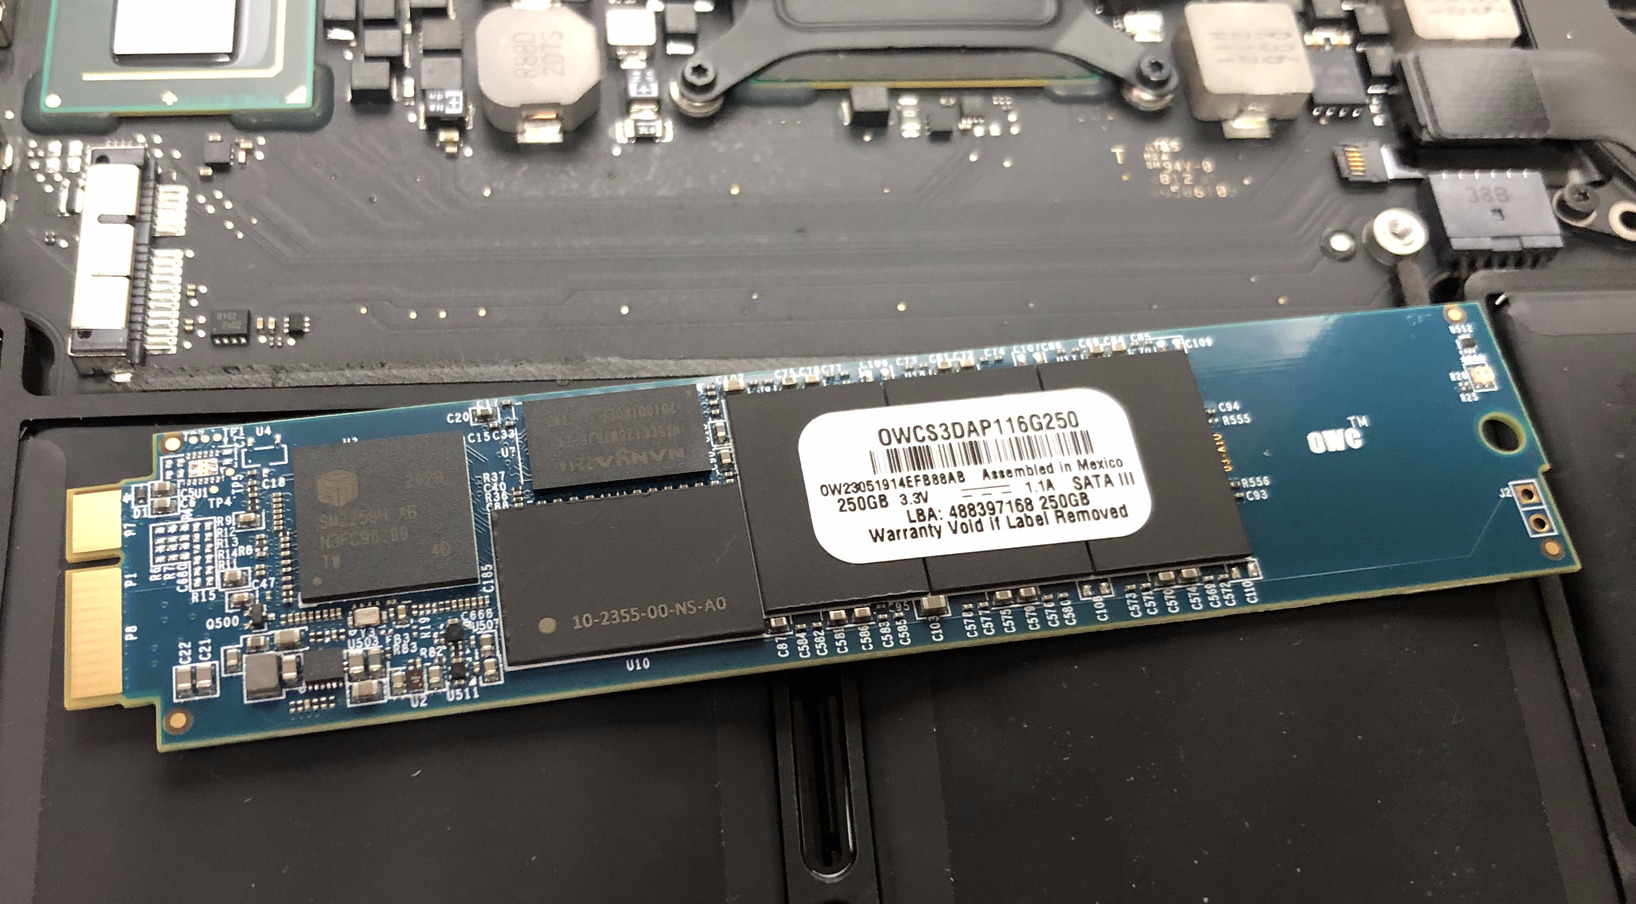 Figure 6a. View of the new SSD
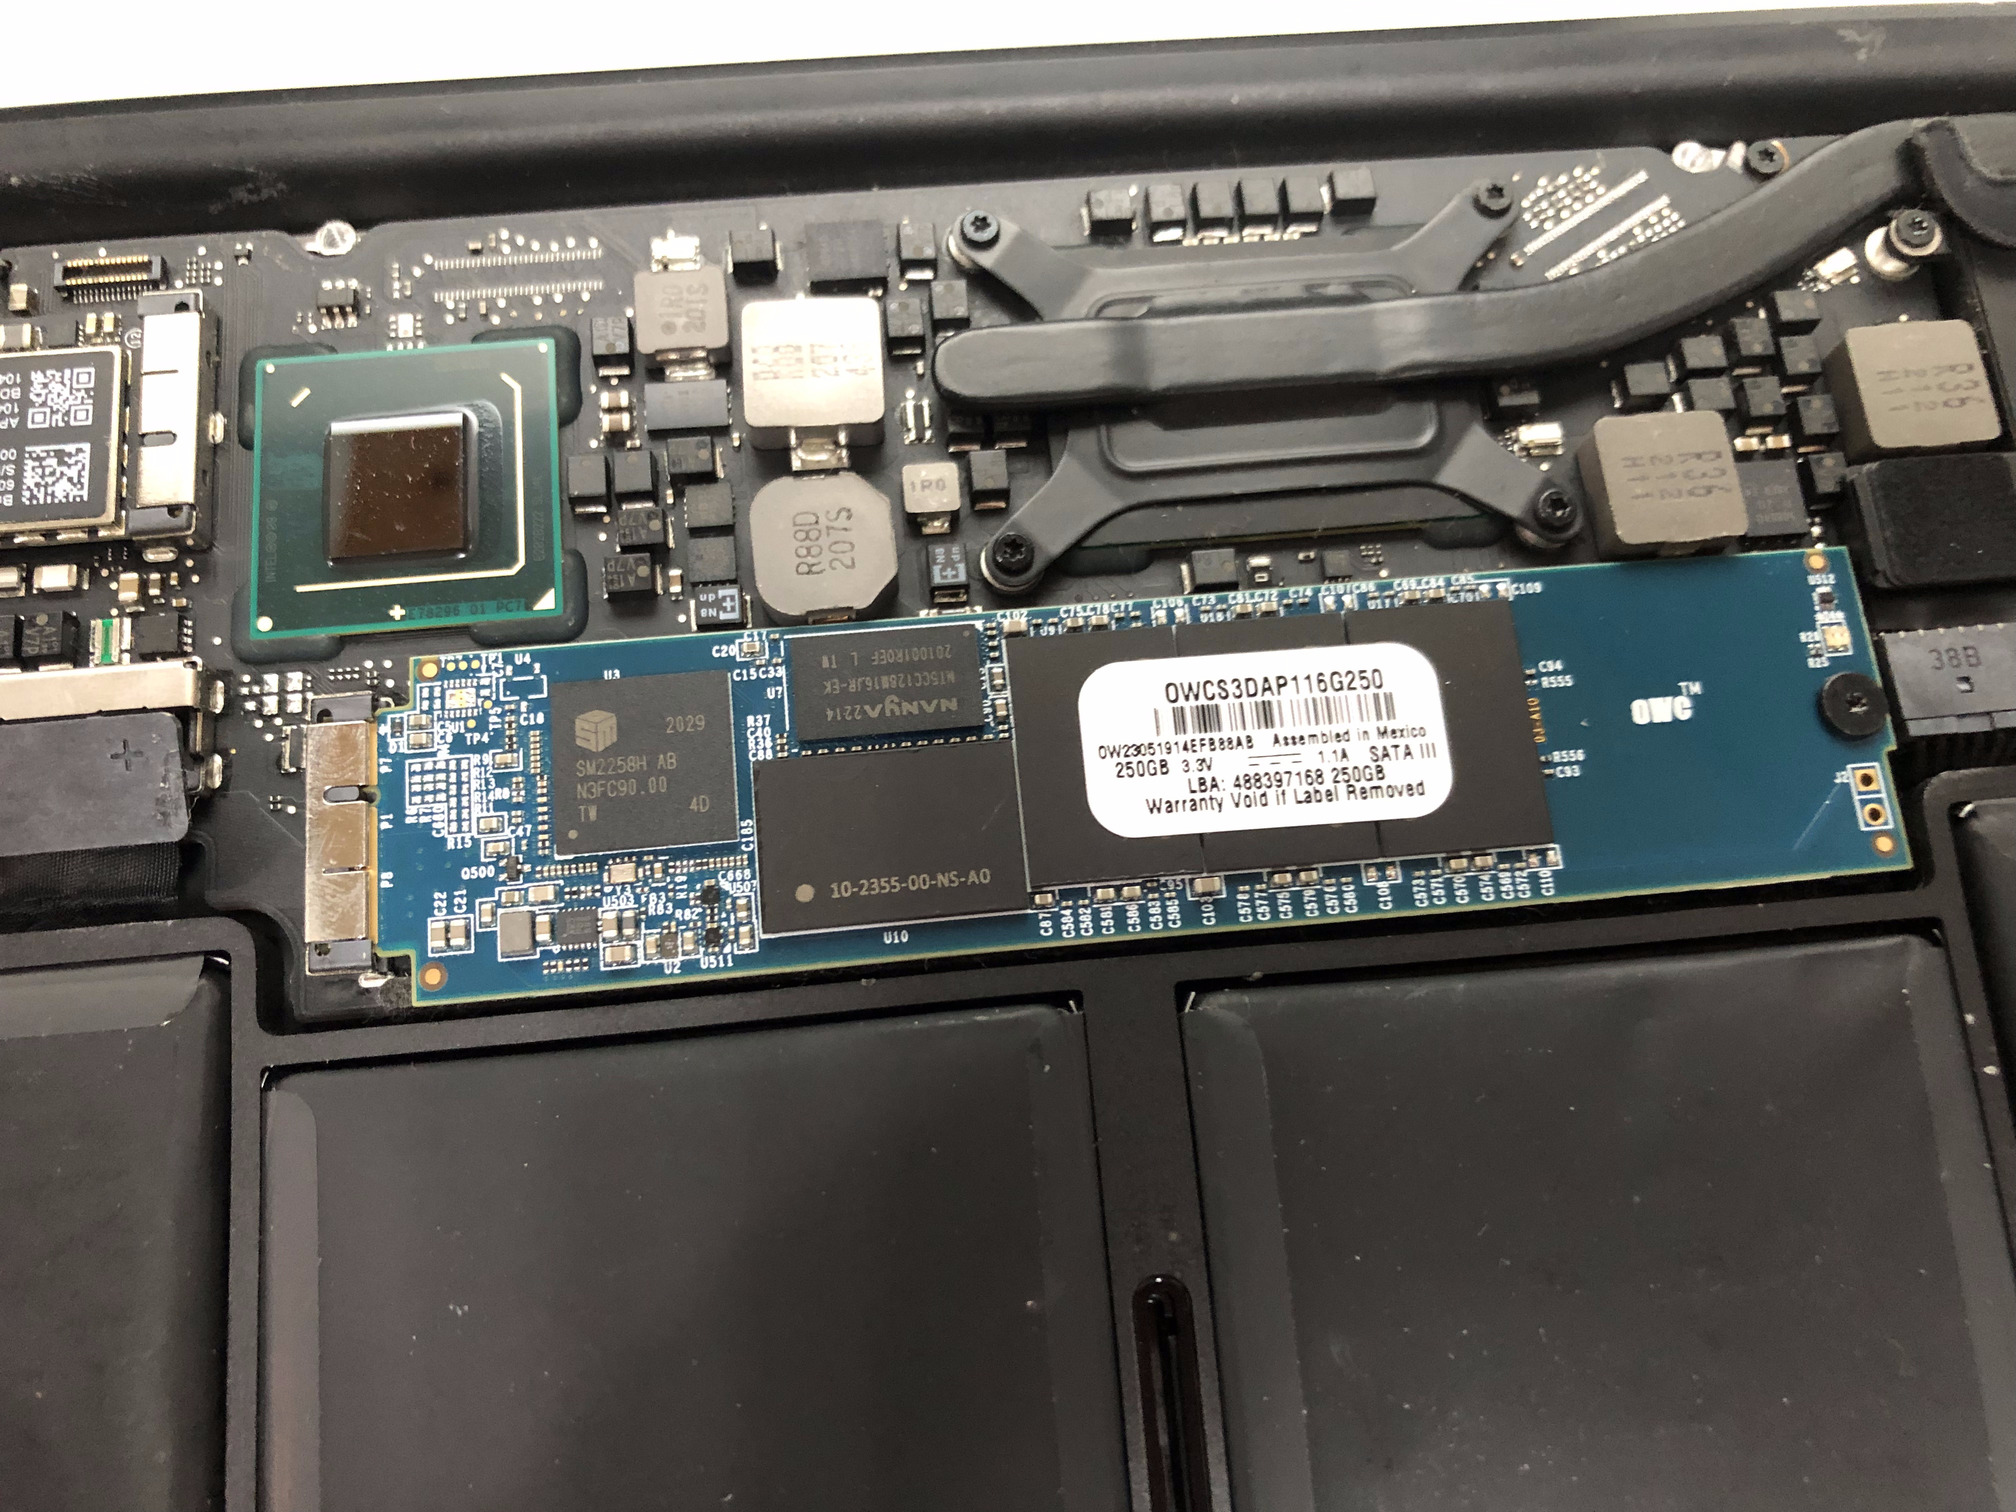 Figure 6b. New SSD installed along with the screw
Step 6: Now push the battery connector back in place as seen in Figure 7.
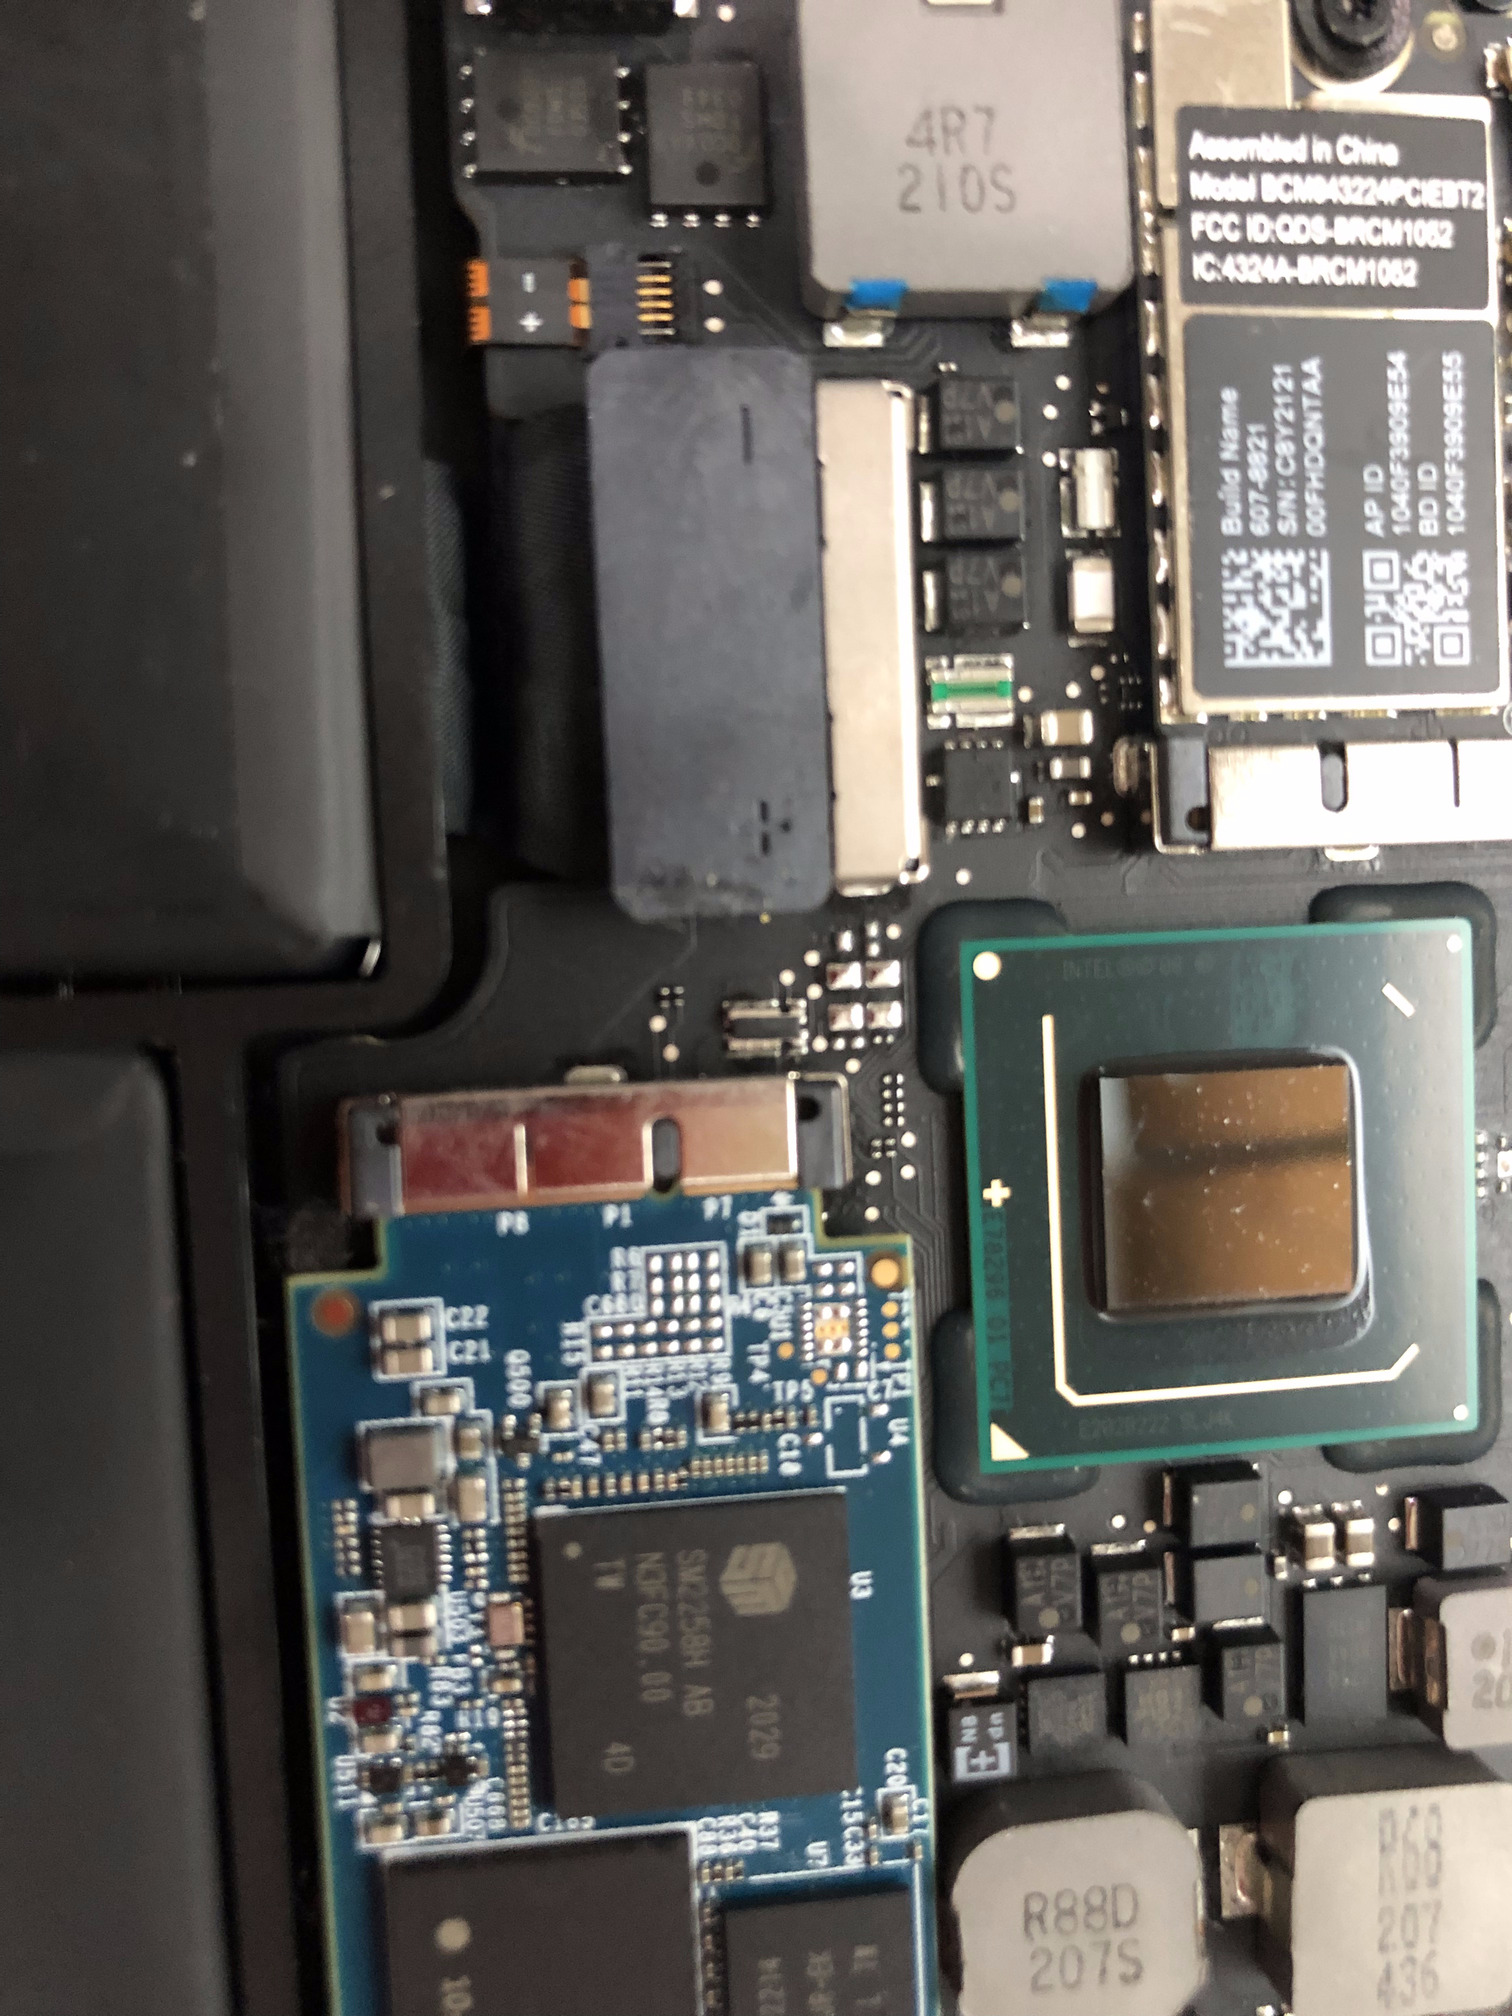 Figure 7. Battery connected and new SSD visible
Step 7: Now place the cover back on, and screw in the 10 screws that you took out in Step 2. Make sure the 2 long screws go in the right spot near the edge of the screen.
This completes the SSD replacement.
NOTE: Do not throw the old SSD away. Keep it as you may want to copy the contents back to this drive if you just wanted to expand the disk space and not install Linux, or if you wanted to dual boot Linux with Mac OSX. Describing backing up and restoring the SSD is out of scope for this post, and you can find various blog posts on the internet for this.
INSTALLING LINUX
Step 8: Download the 64-bit Linux version that you want to install that supports booting from EFI, such as Kali Linux or Ubuntu Linux. I chose to install Kali Linux and they have a good documentation on how to do this which I followed.
You can install the netinst (or network install) ISO and burn it to a USB stick as described here or here.
Then plugin the USB stick into the USB port of the MacBook Air as shown in Figure 8.
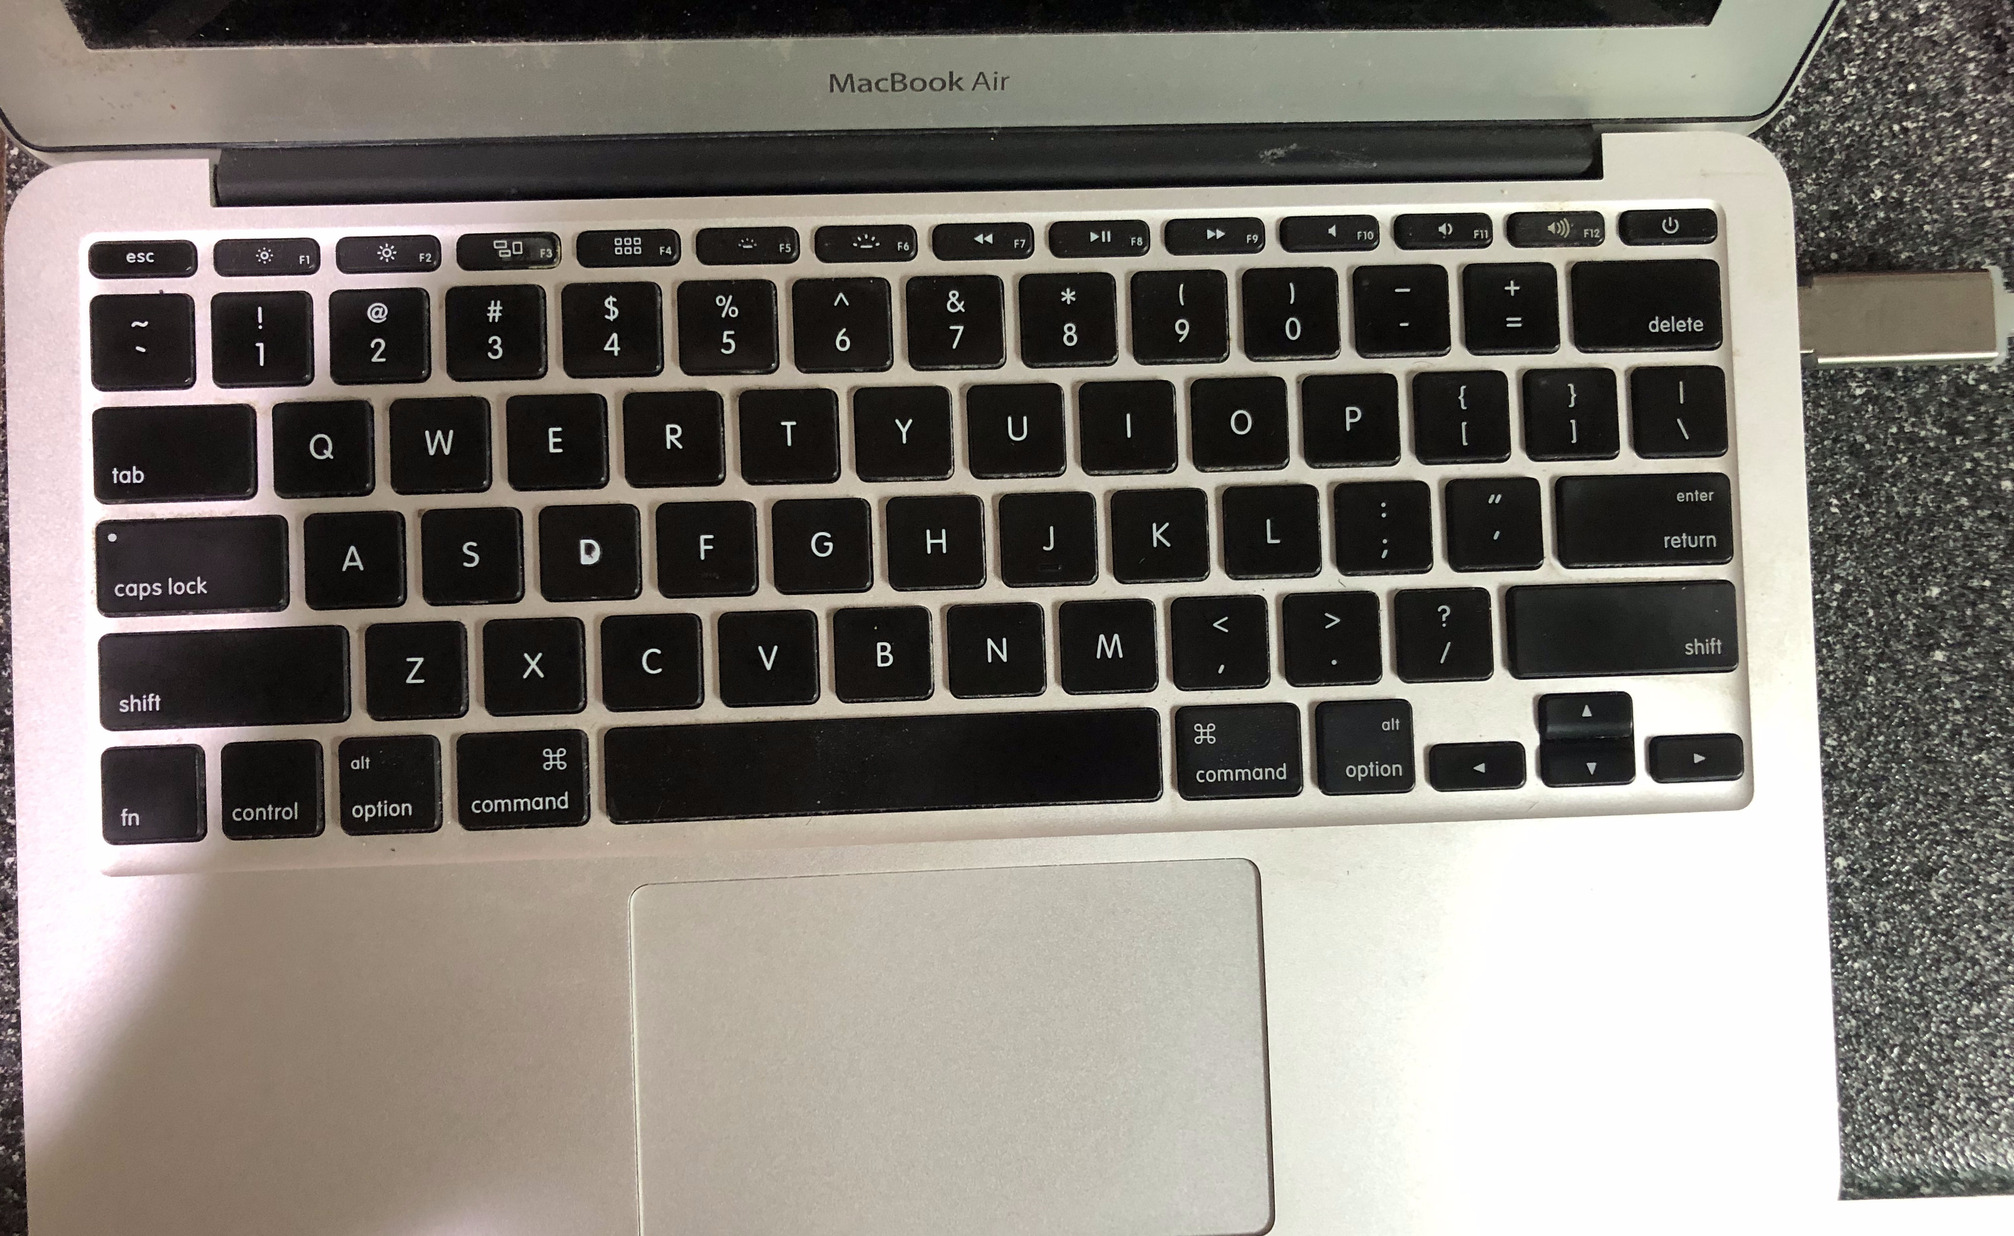 Figure 8. Plugin the USB stick with the Linux installer image
Step 9: Now we need the laptop to boot from the USB drive, so we press and hold the Alt/Option button, and then hit the power button. Keep holding the Alt/Option button until you see the Linux Grub boot menu as seein in Figure 9. This is the installer booting from the plugged in USB drive. Here is a link from Apple describing the various boot keys that you can press, if you are curious.
NOTE: If you had setup a firmware password on the MacBook Air, then you will need it here.
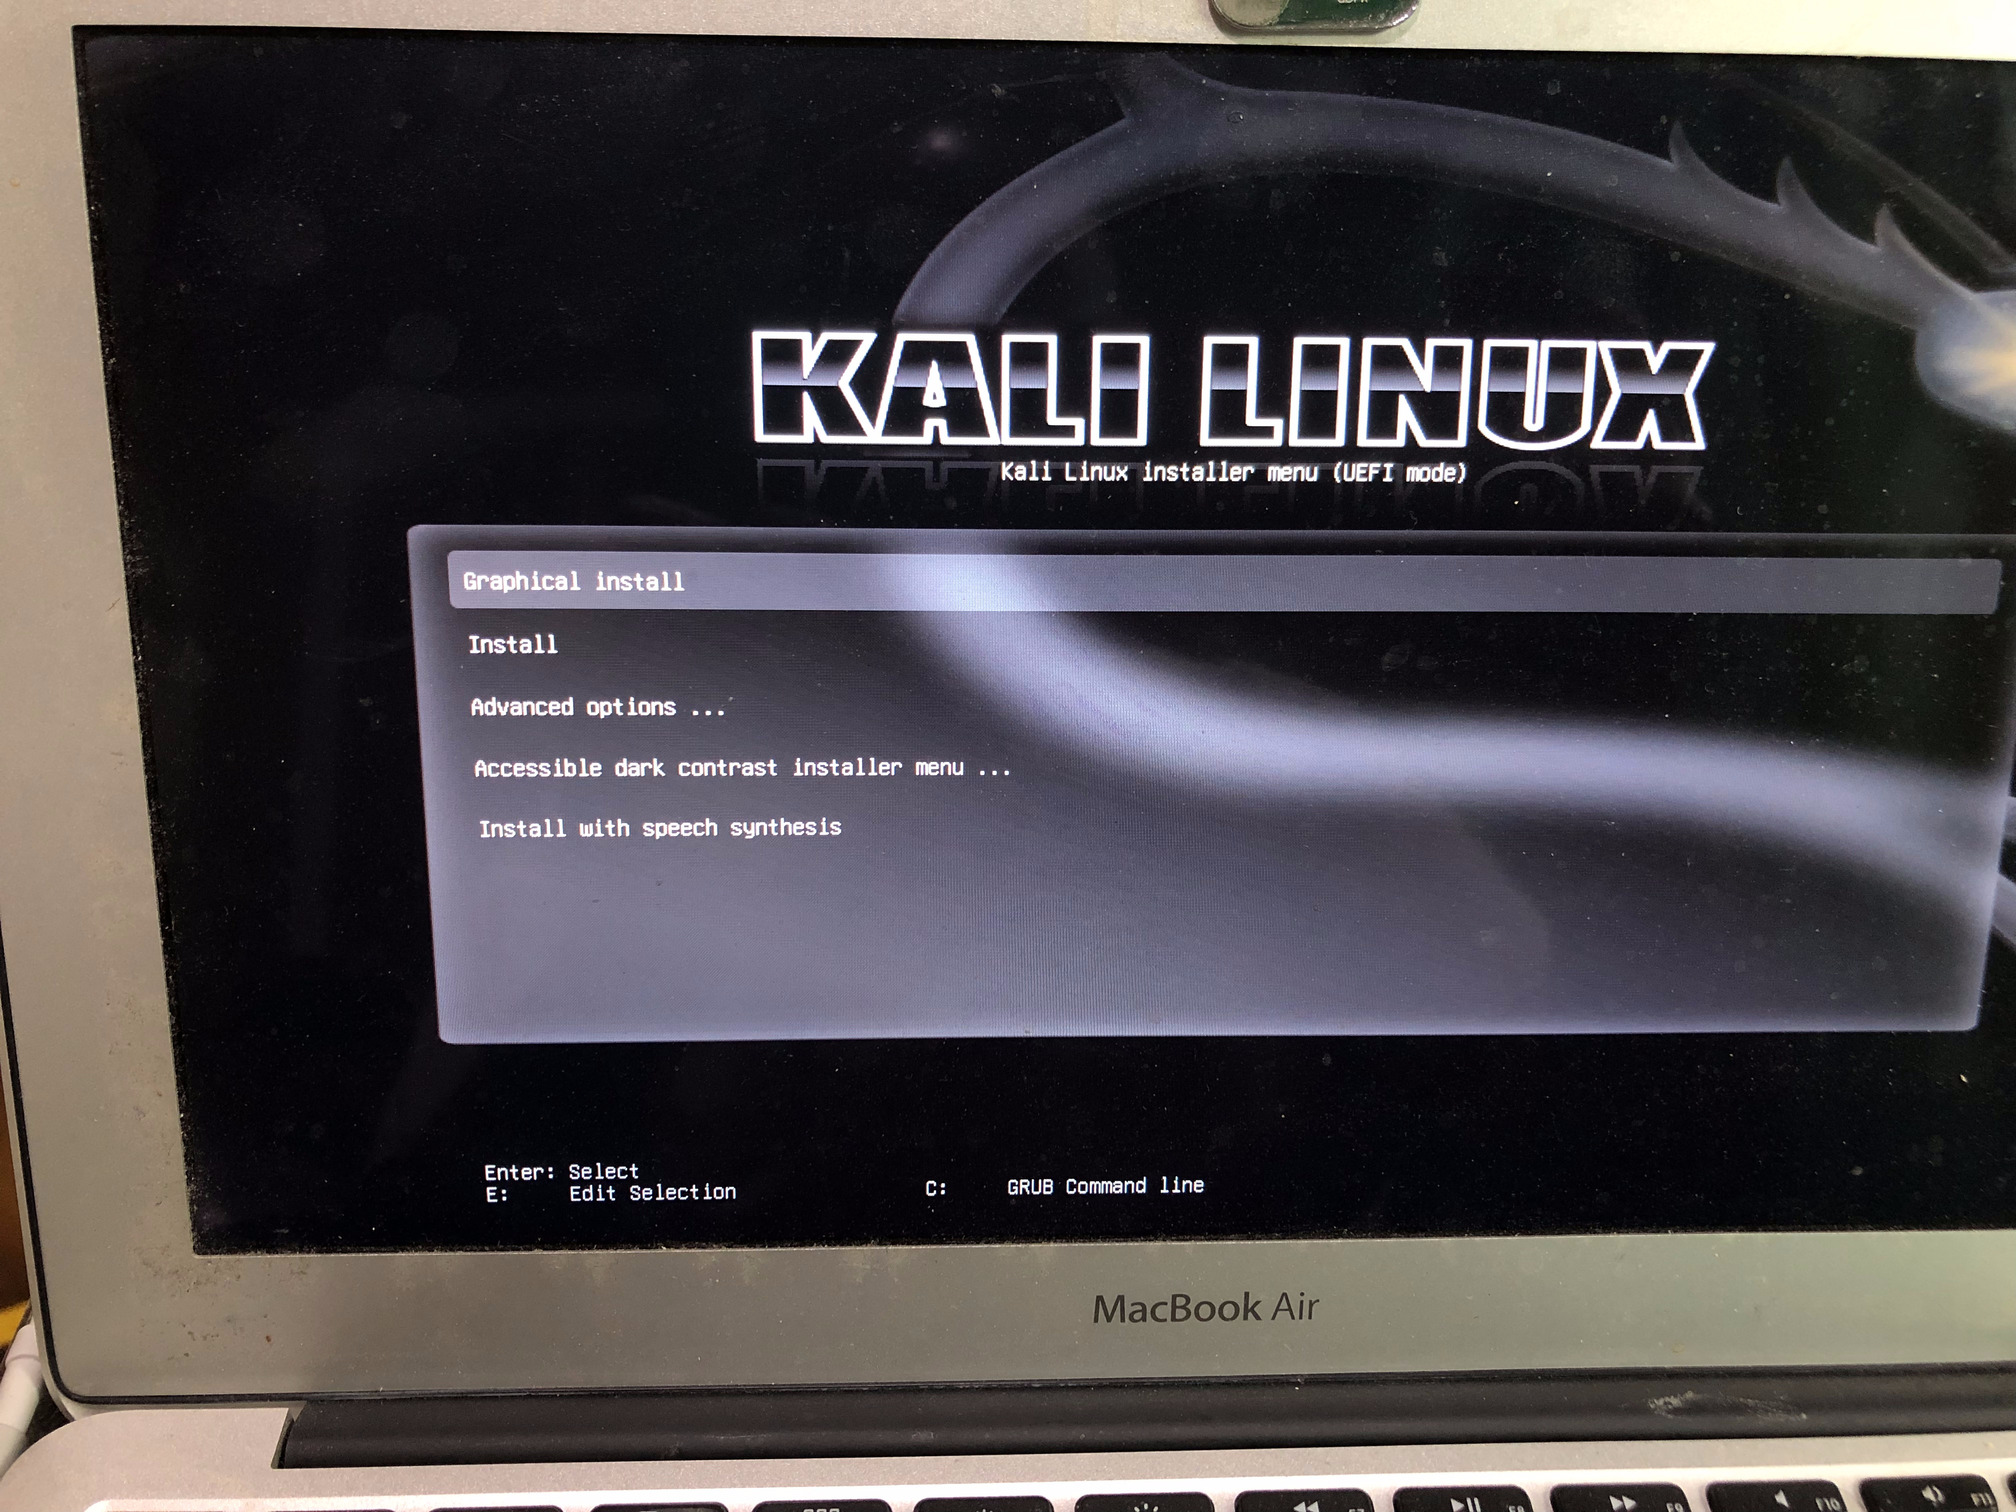 Figure 9. Kali Linux installer booting on the MacBook Air
Step 10: Start the installation and follow instructions as desired, or refer to the installation manual for your choice of Linux. Shown below in Figure 10 is the SSD being detected by the installer.
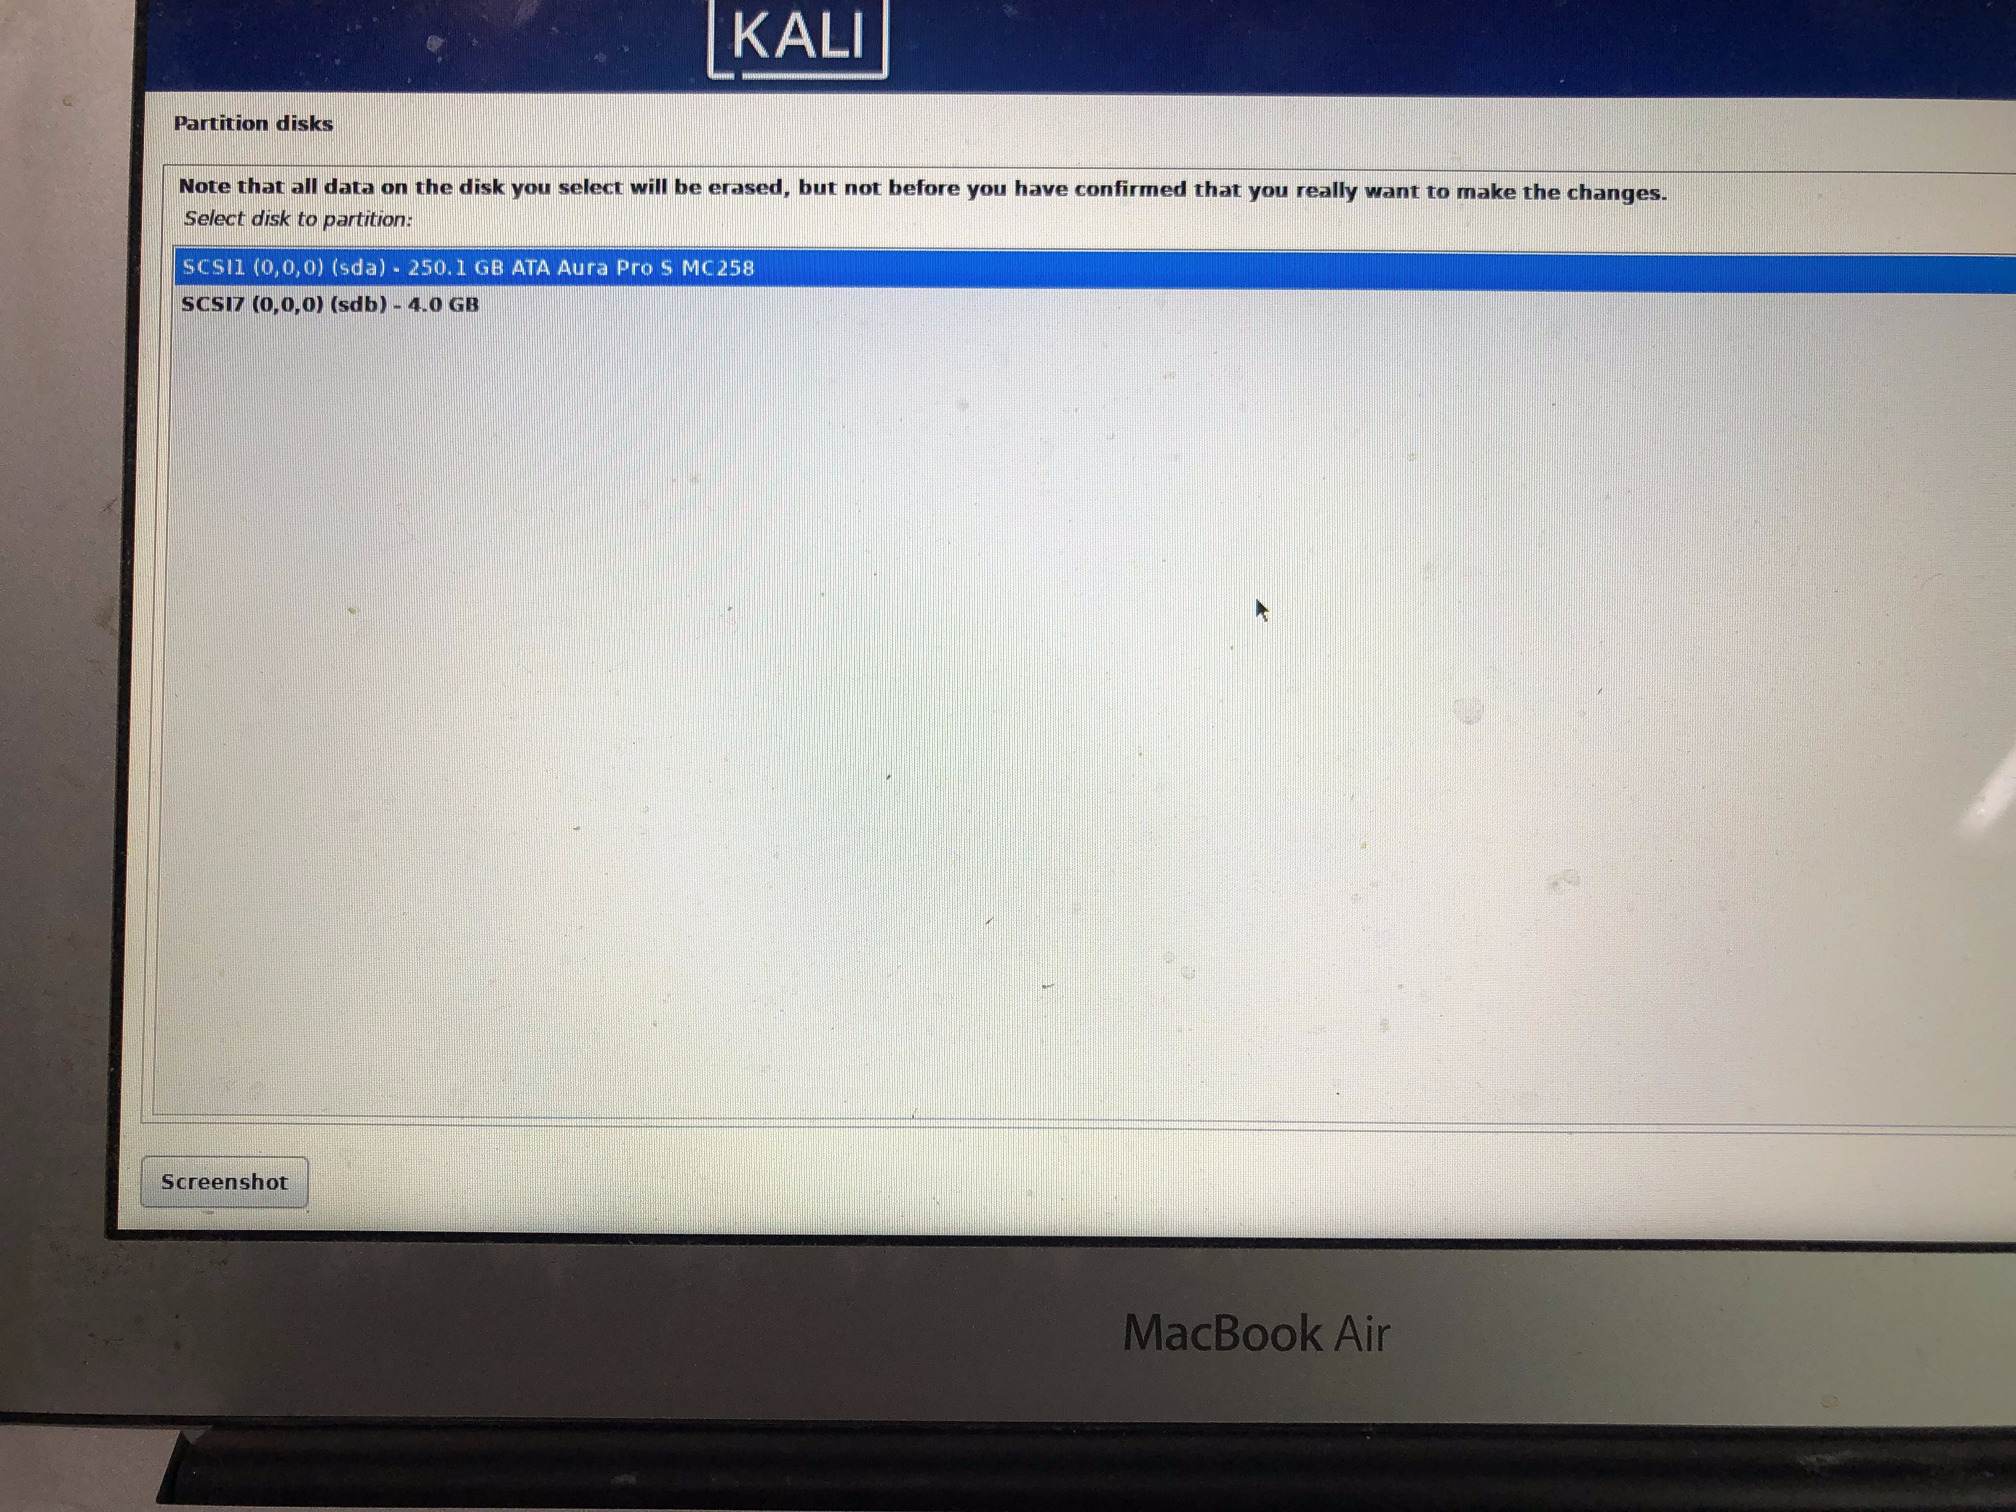 Figure 10. New SSD is detected by the Linux installer
NOTE:
-
During the install I did receive a few error messages saying that the partitions could not be written or they were written but the kernel could not detect them. I rebooted and tried twice and the partitions were detected, but the main thing I think worked was making sure that the EFI partition had the
Namefield set. I was able to do this by changing the partition type to FAT32 and then changing it back to EFI. -
If you have ethernet available via a USB-to-ethernet adapter, I would use that to perform the install since the WiFi drivers may not work as expected or cause hangs/freezes.
Step 11: Once you complete the installation reboot the laptop and see if it works. Shown in Figure 11 is the login screen.
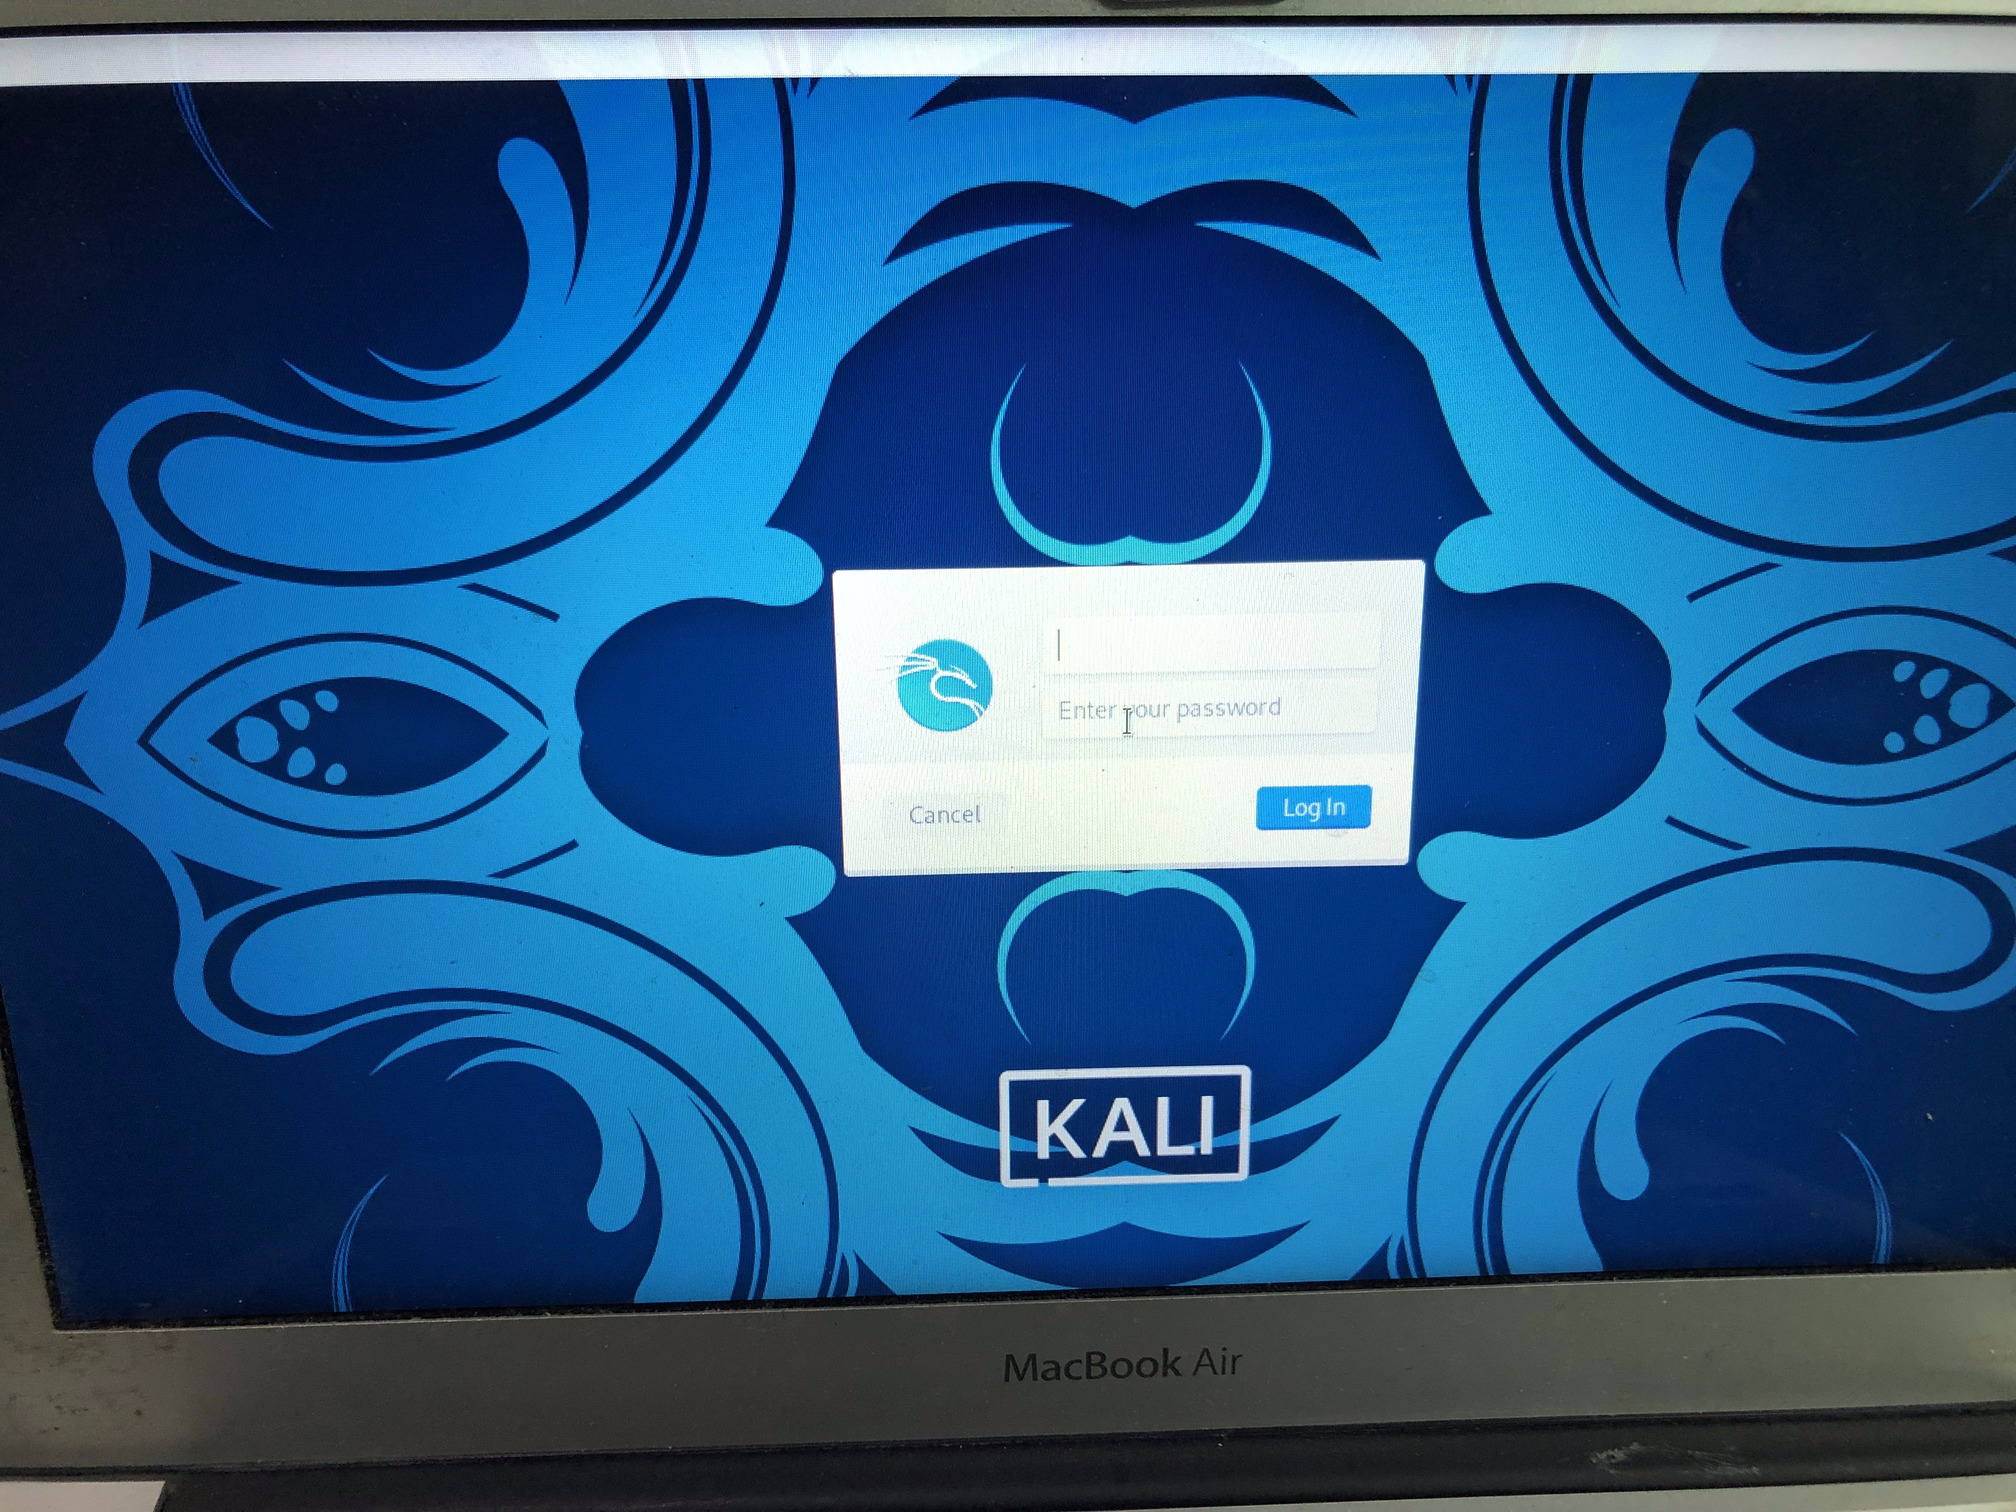 Figure 11. Kali Linux installed on the MacBook Air
Step 12: If your MacBook Air has low RAM, like mine has 2GB, then you will see a lot of freezes/hangs since it runs out of memory quickly. So there are two things you can do:
- Install the Broadcom firmware for your WiFi since it is not installed by default and reboot.
$ sudo apt -y install firmware-b43-installer
$ sudo reboot
- If you are still seeing random hangs, it is due to the Broadcom drivers and your best bet is to use an Alfa AWUS036AC or similar ethernet card supported by Kali Linux. In that case, you will need to blacklist the Broadcom drivers on the Macbook Air, so that they do not load up and crash the system randomly. Place a file with the below content in the below path and reboot the system. Remember to make sure you have a WiFi dongle available to connect to the internet.
$ cat /etc/modprobe.d/broadcom-blacklist.conf
#### blacklisting broadcom drivers for wifi
blacklist bcma
blacklist brcmsmac
blacklist b43
-
A USB-to-ethernet dongle can also be used if you want to use ethernet instead of WiFi.
-
Set the login mode to not boot up a GUI by default, and instead boot into commandline. This is what I have done.
### get the default startup setting
$ sudo systemctl get-default
graphical.target
### change the startup setting to be commandline
$ sudo systemctl set-default multi-user.target
### verify the setting
$ sudo systemctl get-default
multi-user.target
### reboot and test
$ sudo reboot
- Increase the
swapspace from1 GBto8 GB, which is also what I did. This will move a lot of the memory to swap. This may not be recommended for SSDs but is a necessity for your old device with low RAM.
### show the existing swap space
$ sudo swapon --show

### check the free space being used
$ free -h

### create a large enough swapfile
$ sudo fallocate -l 6G /swapfile

### check it is 7GB in size
$ ls -lh /swapfile

### change the swap file permissions
$ sudo chmod 0600 /swapfile

### make the filesystem on it
$ sudo mkswap /swapfile

### enable the swap file
$ sudo swapon /swapfile

### verify that it worked
$ sudo swapon --show
$ free -h

### add it to /etc/fstab to enable this on boot everytime
$ sudo cp /etc/fstab /etc/fstab.bak
$ echo '/swapfile none swap sw 0 0' | sudo tee -a /etc/fstab

### reboot and test
$ sudo reboot
The above commands were taken from here.
 Donate BITCOIN to 19hrWWw1dPvBE1wVPfCnH8LqnUwsT3NsHW.