
Keeping the theme of re-using old hardware, I decided to take the non-working PlayStation 2 (PS2) off my brother’s hands and try to get it to work. The CD/DVD reader had stopped working and after a few tries I gave up and decided to use the FreeMcBoot bootloader to modify the PS2 so that it could load games off an SMB share on the network. You have to use a wired ethernet connection for this. Here’s how to do this in the year 2020.
Setting Up The PS2
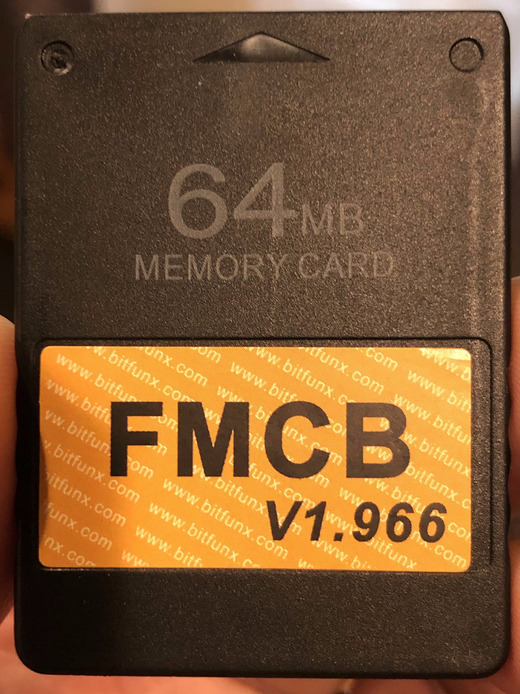
I had a PS2 Slim model SCPH-77001 which is supported by FreeMcBoot (FMCB). However, since it did not have a hardware mod-chip installed I decided to try to do a soft mod by using a hacked memory card with the FMCB firmware pre-installed. I purchased this memory card (Figure 1) on
Amazon for $17 including taxes. It is amazing that people sell these things even today and that the prices are quite low relative to trying to do this yourself and buying a nearly $100 PS2 memory card adapter on eBay. However,
if you do want to make this card yourself you need to follow the tutorial on the FMCB link above and try. I tried and failed since my PS2 was not hacked or modded to install uLaunchELF so that it could read FMCB off a USB drive, and therefore purchasing the memory card is the best way to go about maximizing use of
the PS2 and saving time. As of this writing the FMCB version I used was 1.966.
 Figure 1: 64MB PS2 memory card with FreeMcBoot installed
The first step is to plug the card in the first (or left-most) memory card slot in the PS2 and restart your PS2. You will see the FMCB splash screen as in Figure 2 and then it continues to the FMCB bootloader menu as in Figure 3.
 Figure 2: FMCB splash screen
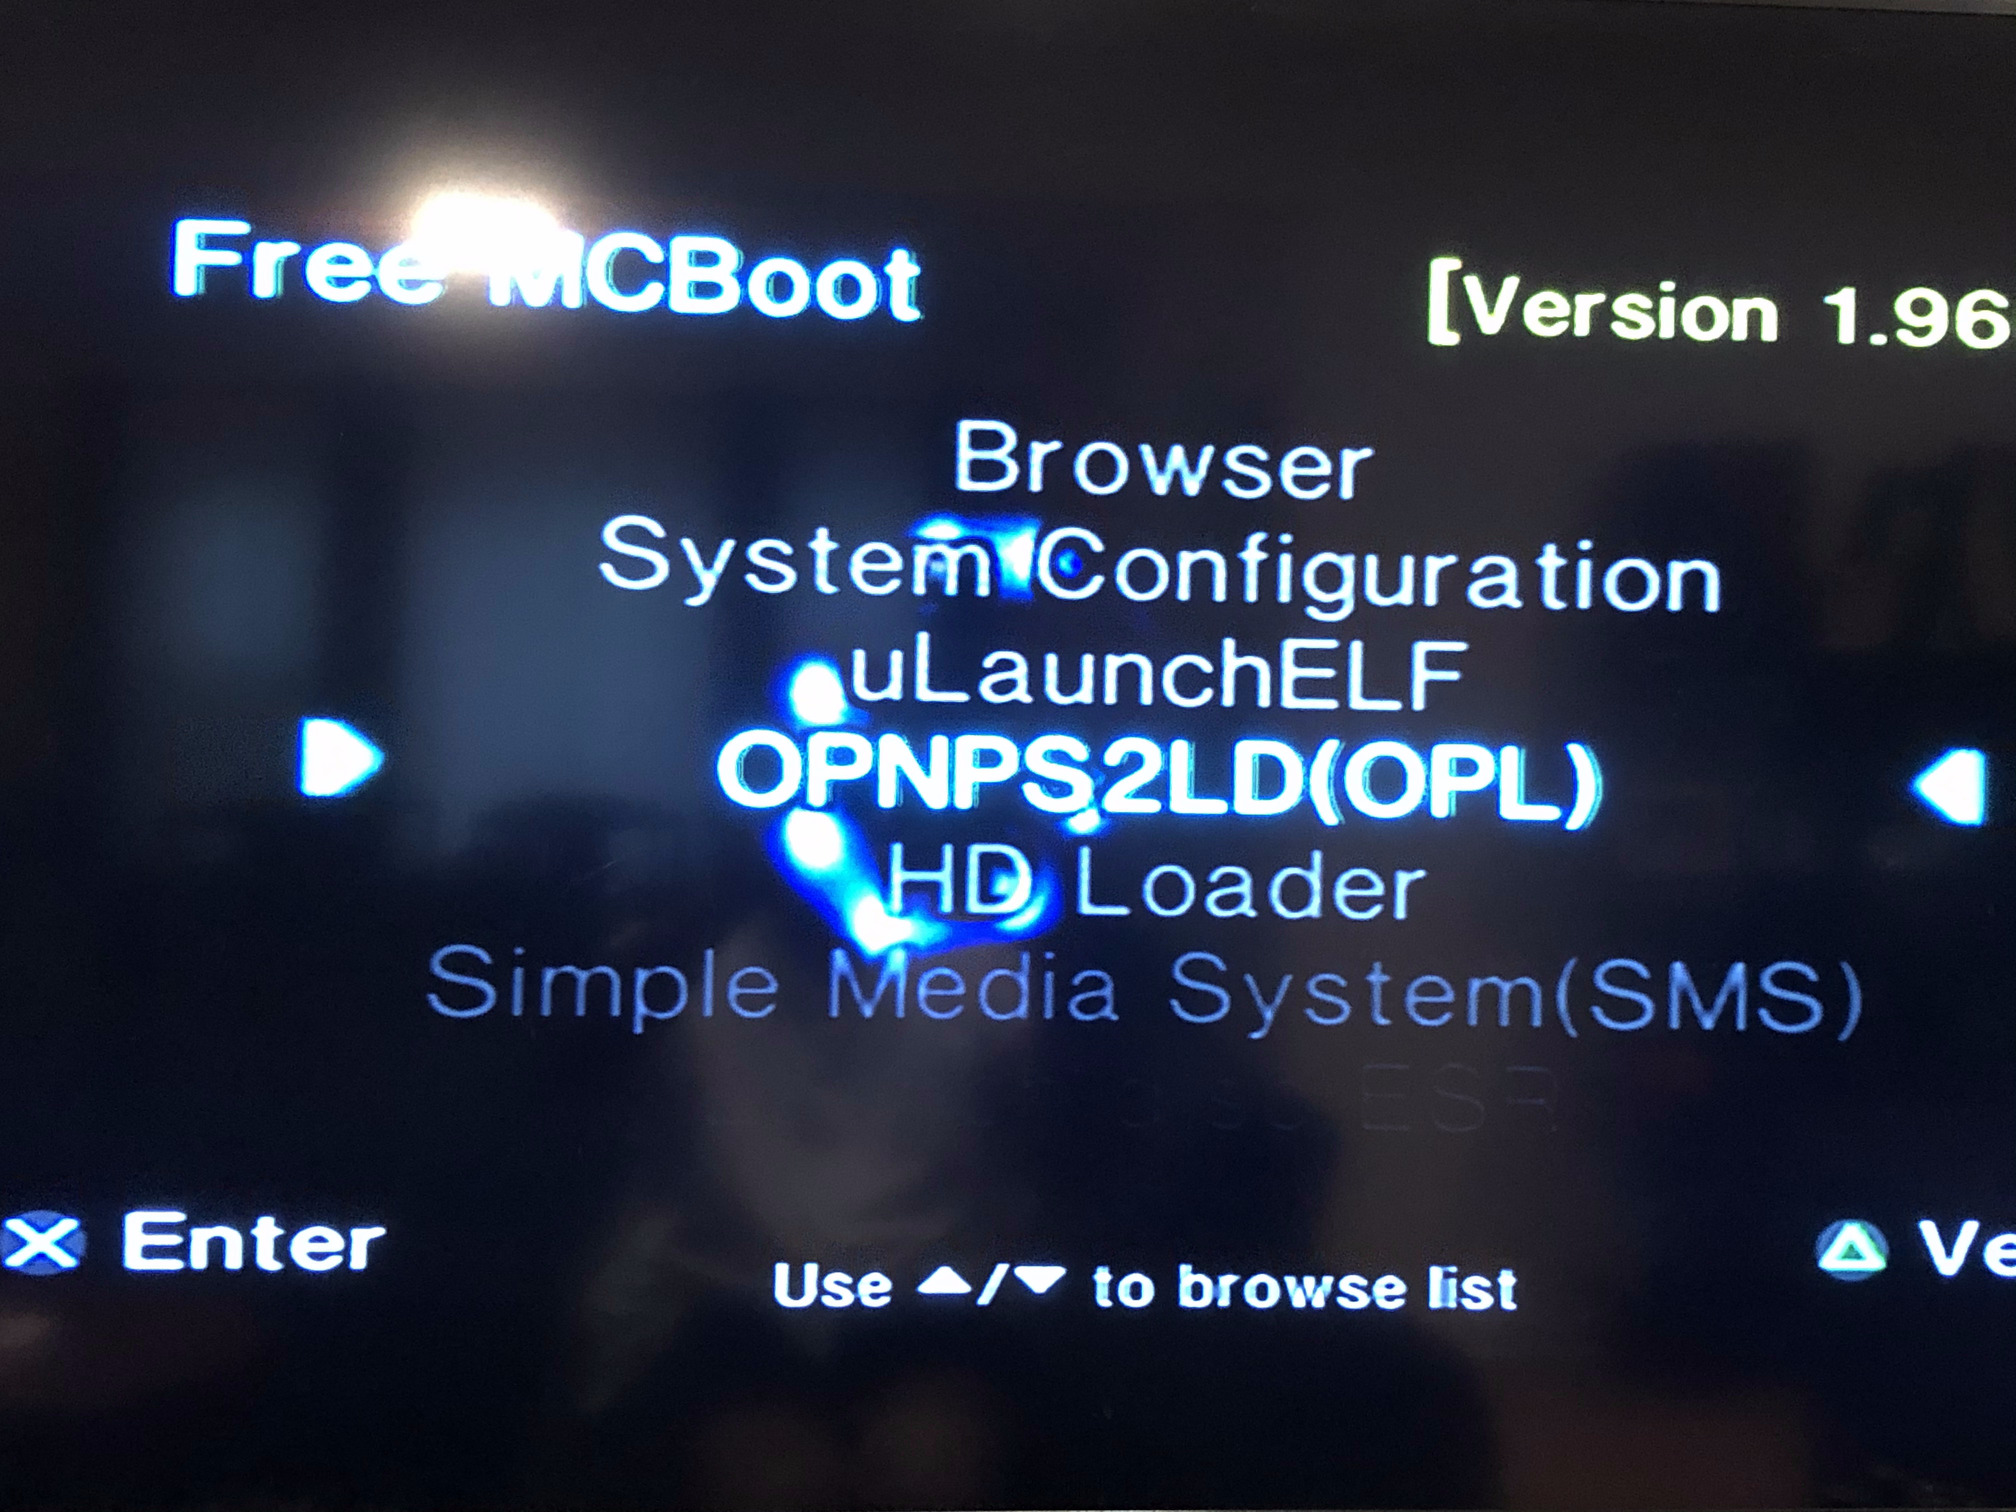 Figure 3: FMCB bootloader menu
To boot a game off the network you need to select the OPNPS2LDR option which stands for the Open PS2 Loader. This special program allows the PS2 to use its ethernet connection to connect to a SMB share on your network. Select this option by pressing the X key on your PS2 controller.
You will see that it opens a screen with an error saying No HDD detected or similar. Hit the Start button on your controller to go to the settings menu as in Figure 4.
 Figure 4: OPNPS2LDR menu
Hit the O button on the PS2 controller to select the Settings option first.
By default, Ethernet is disabled in this menu and we want to enable the ETH device start mode and set the Default menu to ETH Games as seen in Figure 5.
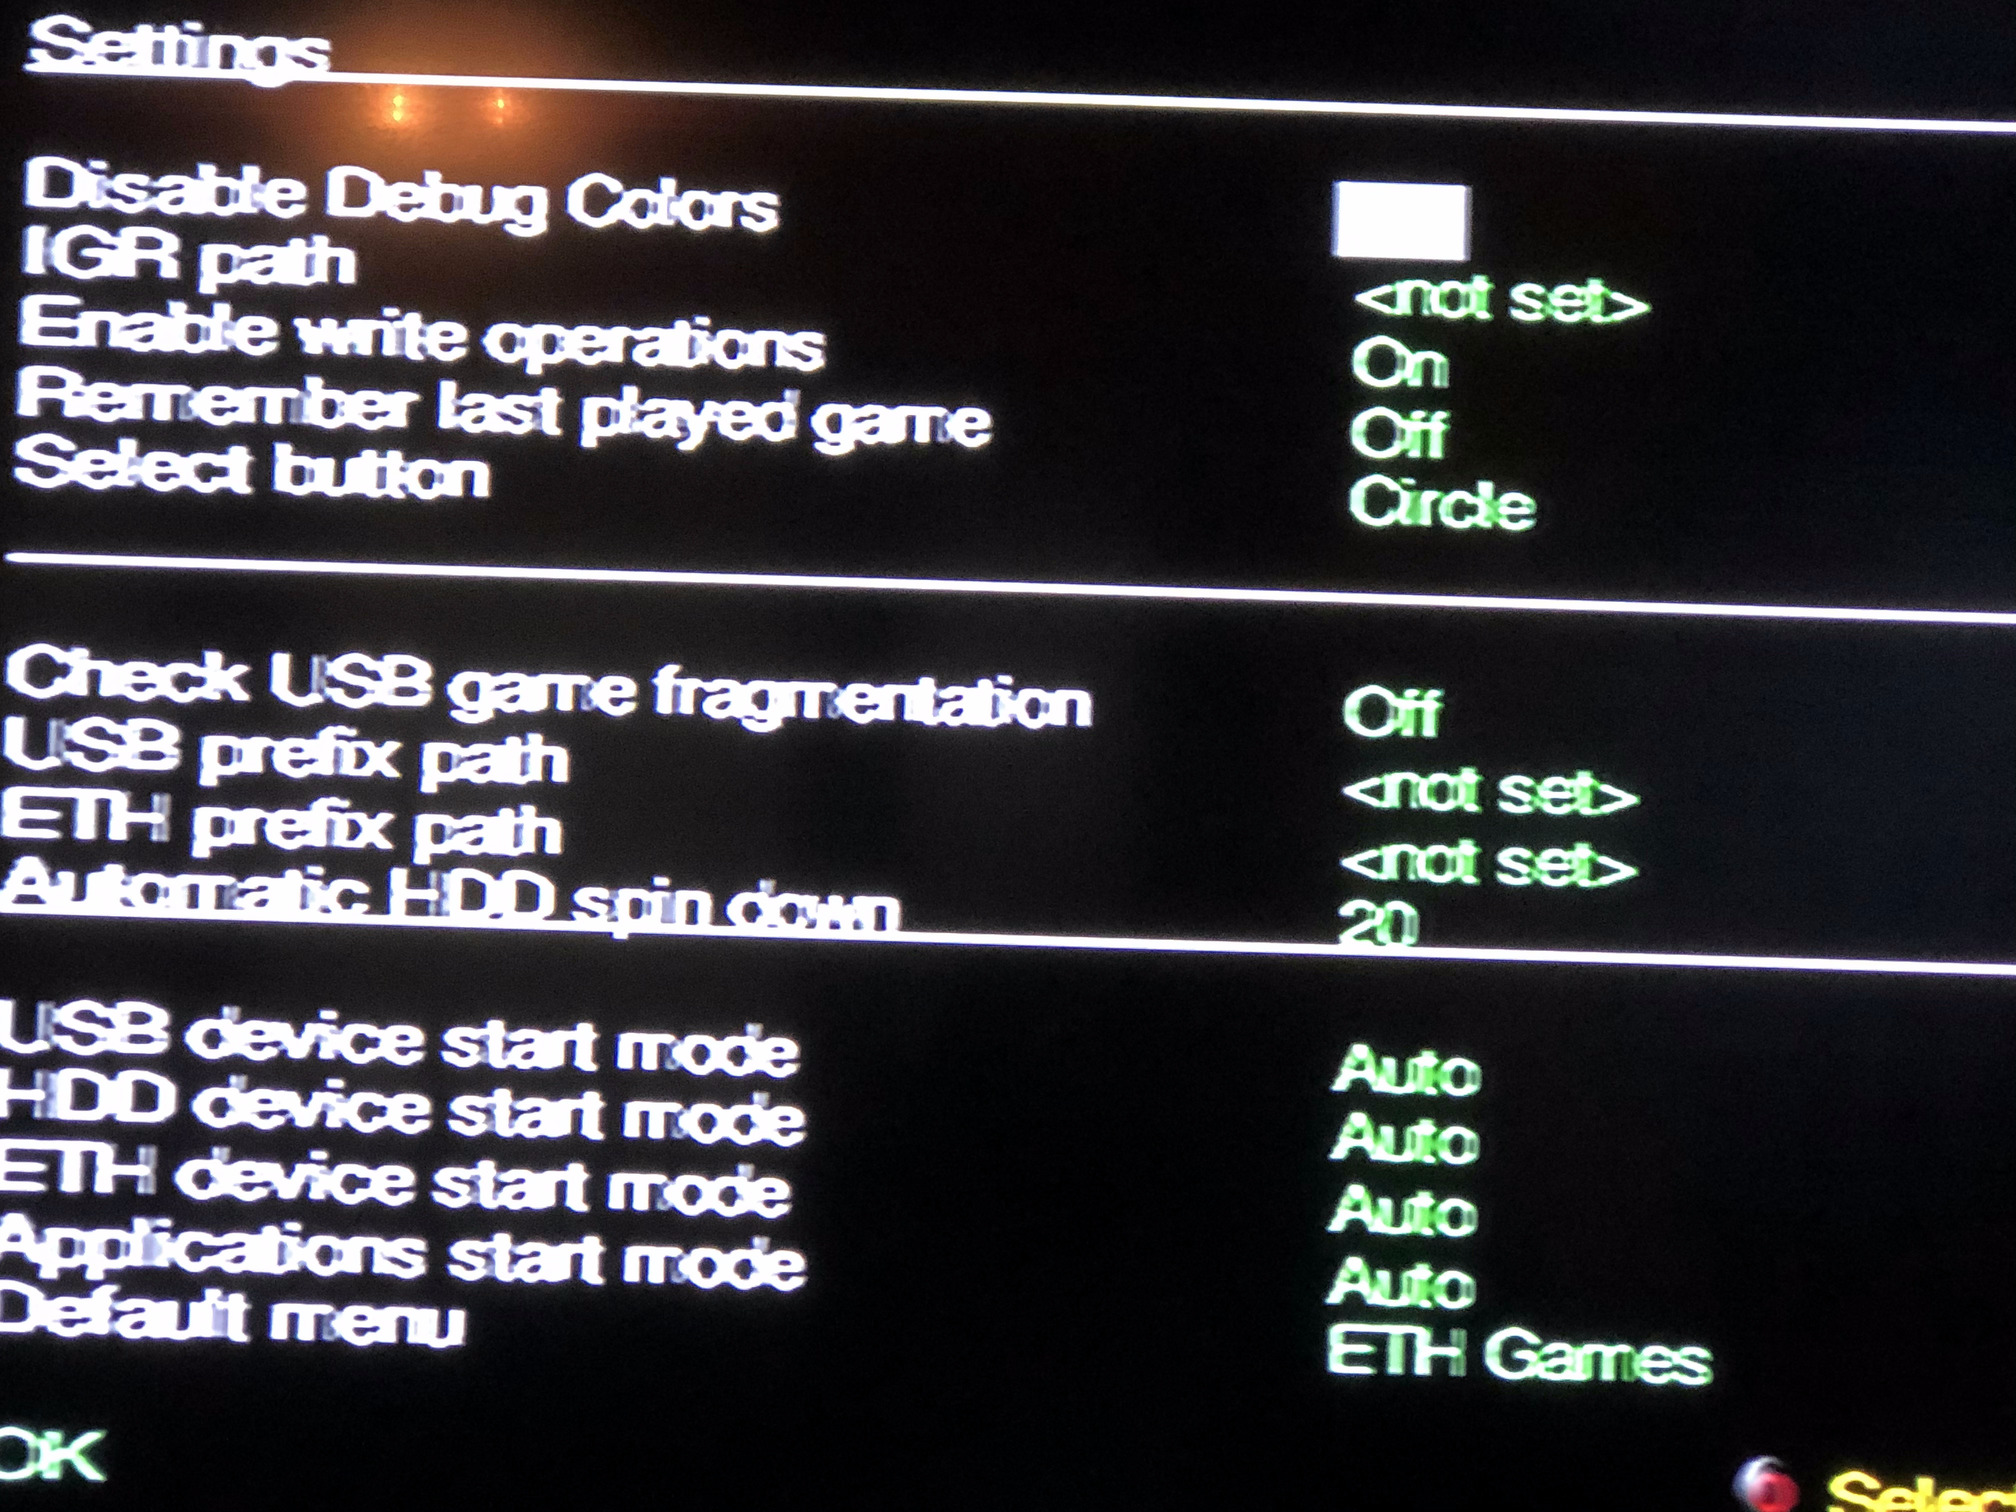 Figure 5: Enable
 ETH device start mode in the OPNPS2LDR Settings Menu
Remember to hit OK using the O key on your controller, and then go back to the main menu (Figure 4) and select Save Changes using the O button on the controller as seen in Figure 6.
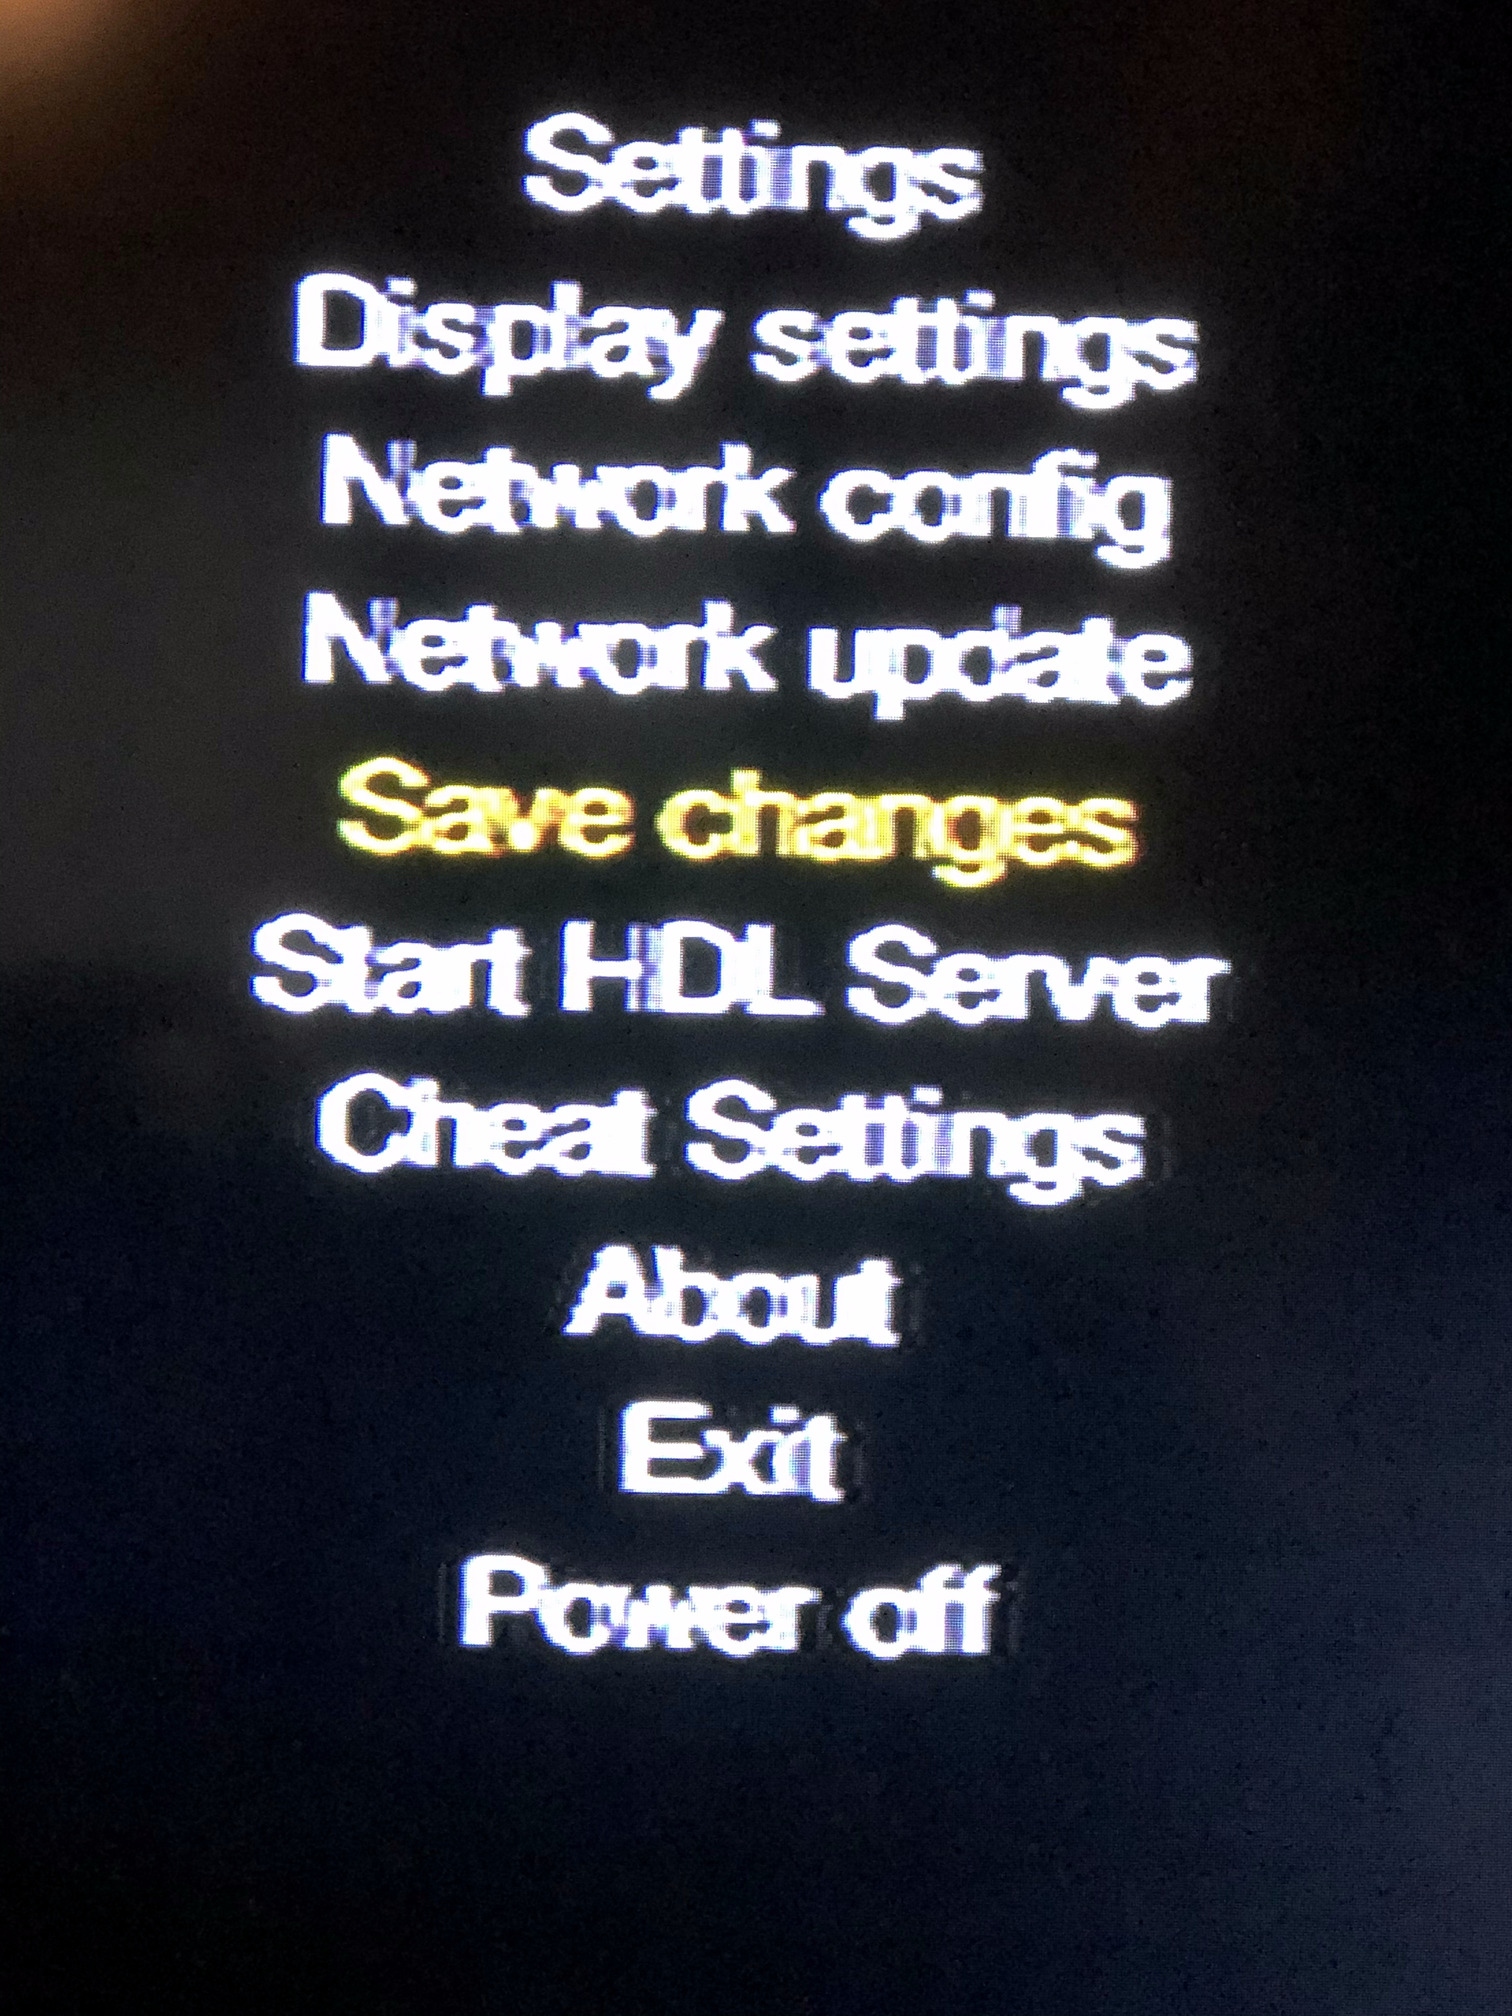 Figure 6: Save your changes every time
Now we set the network settings so that the PS2 knows where to connect to. Select Network config in the main menu (Figure 4) and set the IP address of your PS2 and also the IP address of your network share (SMB share). The below section describes how to setup the SMB
share on Linux securely. We setup the SMB share with a username and password so enter those values in the network config (Figure 7) and save changes as in Figure 6. You may need to hit the Reconnect option.
In my case, I set a static IP for the PS2 and also for my SMB share so that it would be easy to find. This also lets you isolate the PS2 and SMB share completely from the network by placing them in their own subnet, if you so desire for security reasons. You could use an old router for managing the subnet and an old computer for hosting the various games you may have on the share.
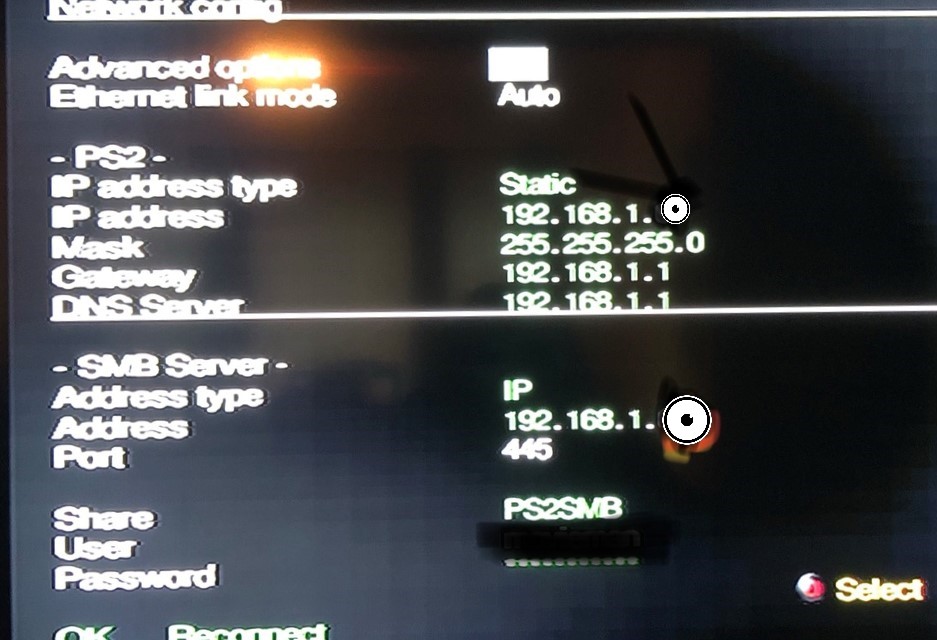 Figure 7: Network Config for OPNPS2LDR
NOTE: Remember to save changes always.
Finally, press X and go back to the games list and if you have setup your network share correctly as described below you will see your games listed as in Figure 8.
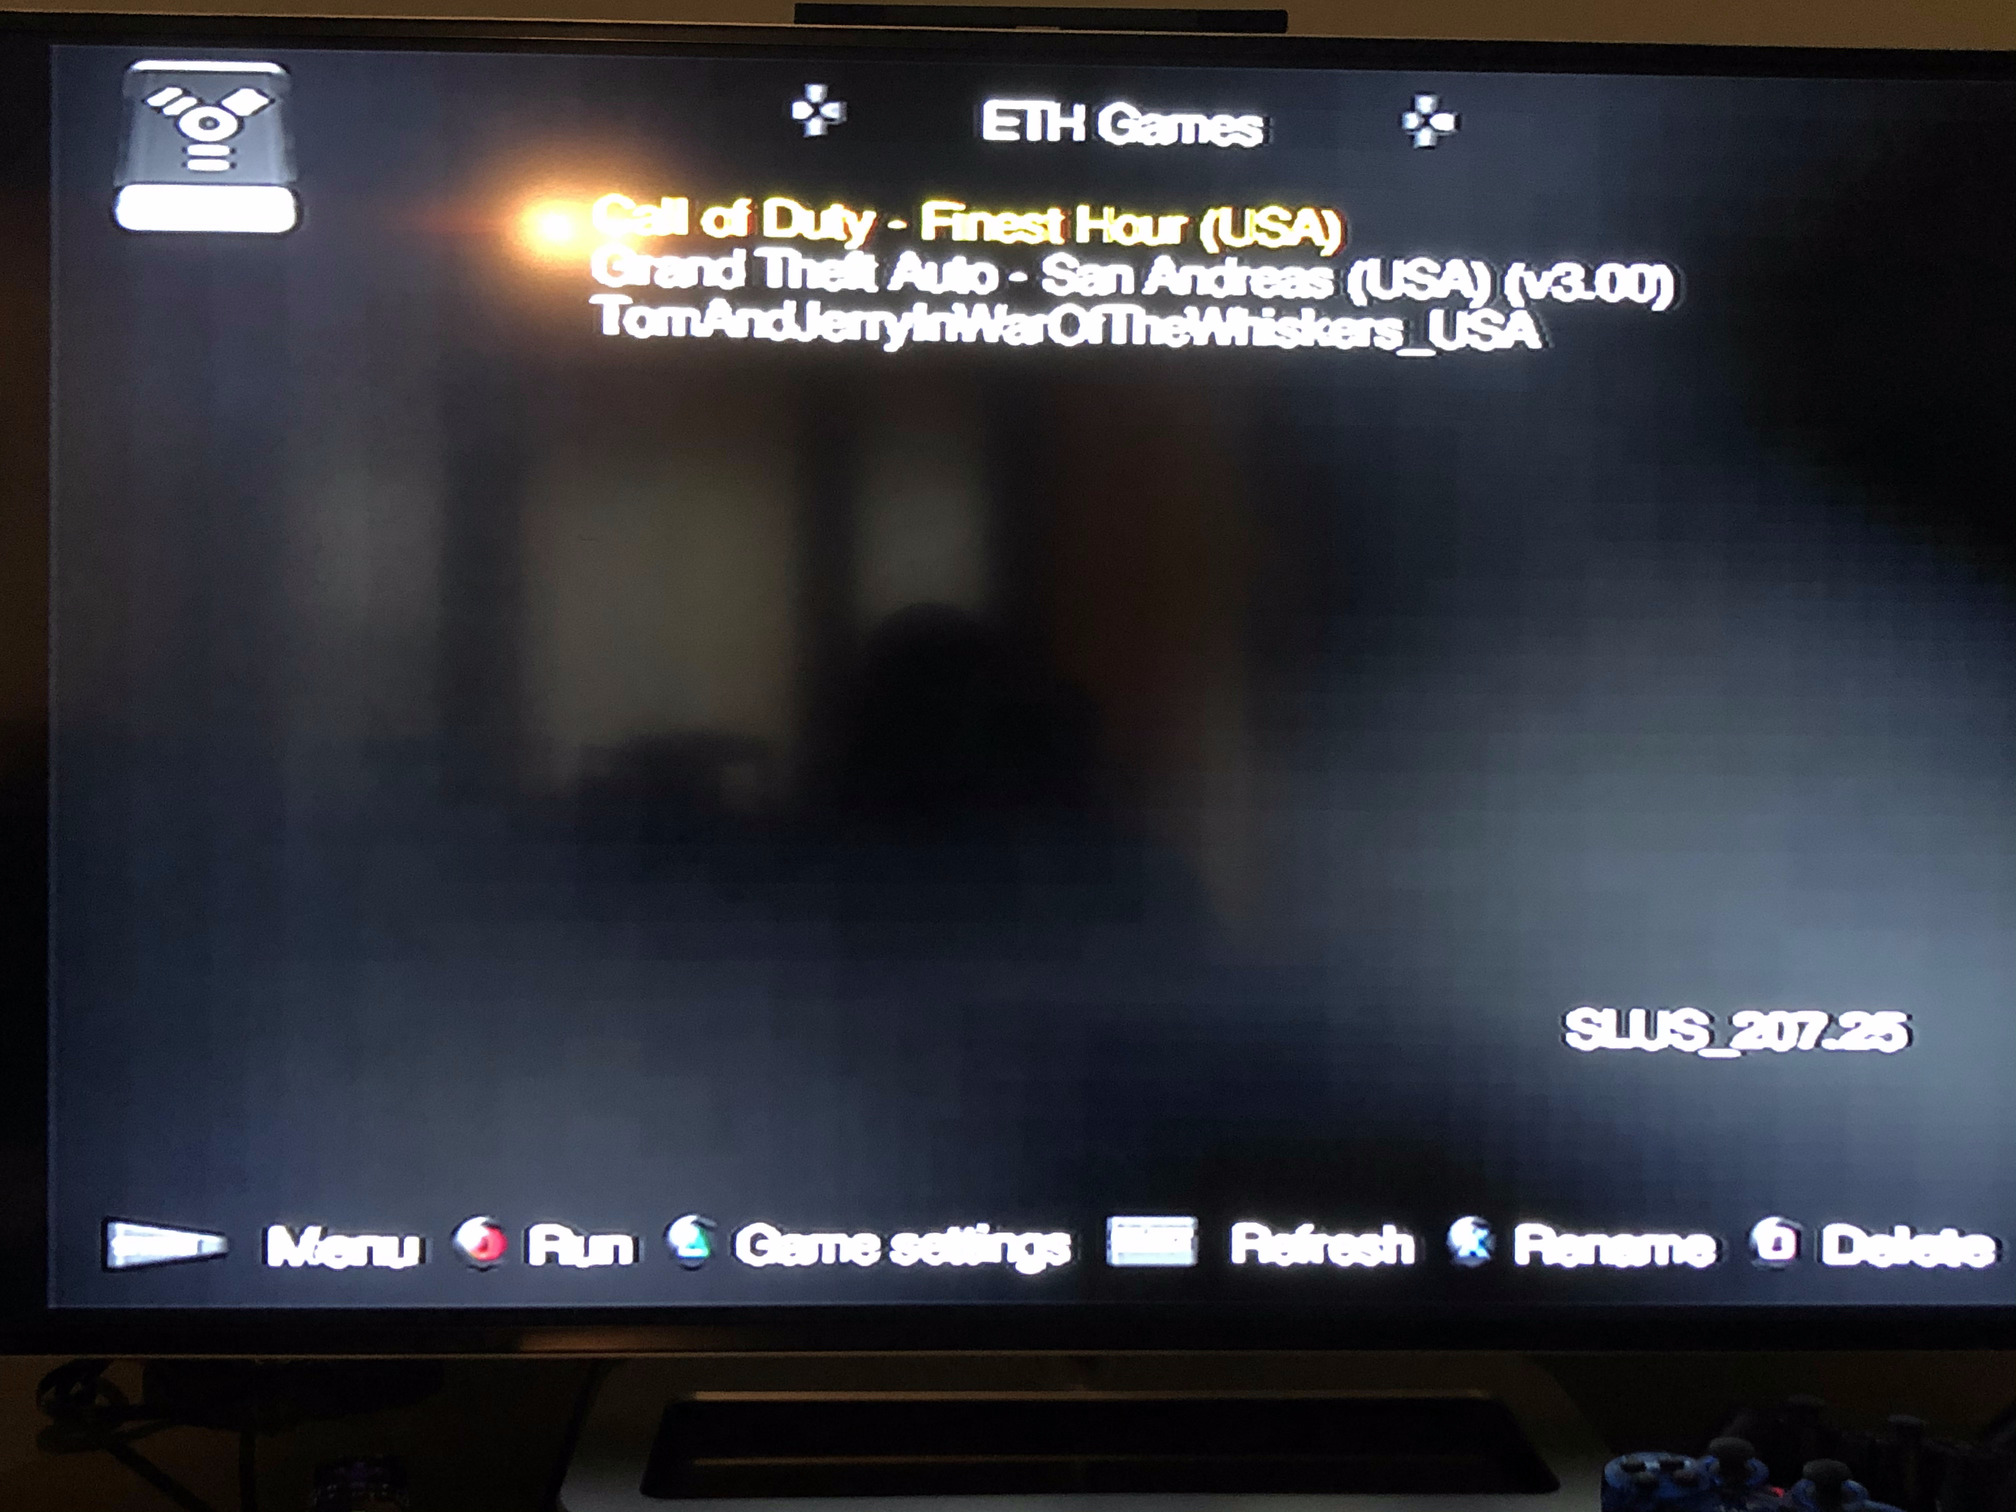 Figure 8: PS2 can now find the games
Select any game, wait a few minutes for it to load over the network and you should be ready to play it.
Setting Up the SMB Share on Linux Securely
Here is how I setup the samba server on Linux to provide the SMB share so that the PS2 could find it.
I used a 10 year old laptop (re-use everything) and have Linux Mint 18 installed on it. This laptop has a 100Mbit ethernet jack which is enough for the PS2 which also has a maximum 100Mbit capability. All you need to do is install the samba server and configure it so that it supports the PS2’s expected format.
Step 1: Install samba
$ sudo apt-get -y install samba smbclient
Step 2: Edit the /etc/samba/smb.conf with these values. You may have a different configuration installed so back it up first.
$ sudo cp /etc/samba/smb.conf /etc/samba/smb.conf.original
$ sudo vim /etc/samba/smb.conf
Here is the content of my smb.conf file:
[global]
client min protocol = SMB3
client max protocol = SMB3
lanman auth = yes
keepalive = 0

[PS2SMB]
   comment = PS2SMB
   path = /opt/PS2SMB/
   browseable = yes
   read only = no
   # this is optional if you want guest access.
   guest ok = yes
   public = yes
   available = yes
We want to force the SMB3 protocol version for the PS2, and the share name has to be PS2SMB as per several forums on the internet so I stuck to that option. The read only option has to be no. It took me nearly 3 hours to figure that out since I kept trying various combinations and read only was set to yes and nothing was working. Definitely set it to no since the PS2 will definitely write stuff to that directory.
Step 3: Add a user for this share. For this example, I use the username ps2player but you can use your existing default user.
## if ps2player does not exist
$ sudo adduser ps2player
## add ps2player to the sambashare group
$ sudo usermod -G sambashare -a ps2player
## verify that ps2player is in that group
$ id ps2player

## create SMB password for ps2player
$ sudo smbpasswd -a ps2player
## enter the password and use a strong one if you want to feel secure
## enable the user
$ sudo smbpasswd -e ps2player
Step 4: Make the directory structure in /opt/PS2SMB. The PS2 will expect this directory to exist.
$ sudo mkdir -p /opt/PS2SMB/DVD
$ sudo chown -R ps2player:sambashare /opt/PS2SMB
$ sudo chmod 0755 /opt/PS2SMB/DVD
Step 5: Restart the samba services - smbd and nmbd.
$ sudo systemctl restart smbd nmbd
Step 6: Test the connection as ps2player. I assume the IP address for your SMB share here is 192.168.1.44 but you can verify it using ifconfig for your system.
$ smbclient //192.168.1.44/PS2SMB -U ps2player
## enter the password
## type dir and you should see the DVD folder listed
smb: \> dir
  .                                   D        0  Fri Oct  2 07:10:04 2020
  ..                                  D        0  Fri Oct  2 08:41:57 2020
  DVD                                 D        0  Thu Oct  1 23:38:50 2020
Step 7: Copy the games to the DVD folder. You need to rip your CDs and DVDs into ISO format. The files accepted by OPNPS2LDR are ISO files. DISCLAIMER: I don’t support piracy, so if you do this I recommend you do this with games you possess.
Step 8: Now your SMB share is ready for connection from PS2. Setup the network config as seen in Figure 7 to match the IP address of the system running the samba server, the correct username ps2player and the correct password as setup in Step 6. Remember to save your changes otherwise they will not take effect.
Step 9: Hit the SELECT button to refresh the games list and you should see your games like I see in Figure 8.
That’s it, now time to play!
 Donate BITCOIN to 19hrWWw1dPvBE1wVPfCnH8LqnUwsT3NsHW.